
Following on from the first Lincolnshire Coast image, I’ve been thinking about what to do next with the idea.
Generally, I only two or three images around the same theme. This is because I quickly become bored with an idea and want to move on to something fresh. However, I enjoyed the method of playing with pouring and melting varnishes so much that I’ve now come to think that it could develop into a very interesting series. So here’s a look at how I’ve been developing a new printing plate…

After cutting a new piece of mount board to the same size as the first, I began creating the image by using a plastic spreading tool to smear crackle paste onto the surface.
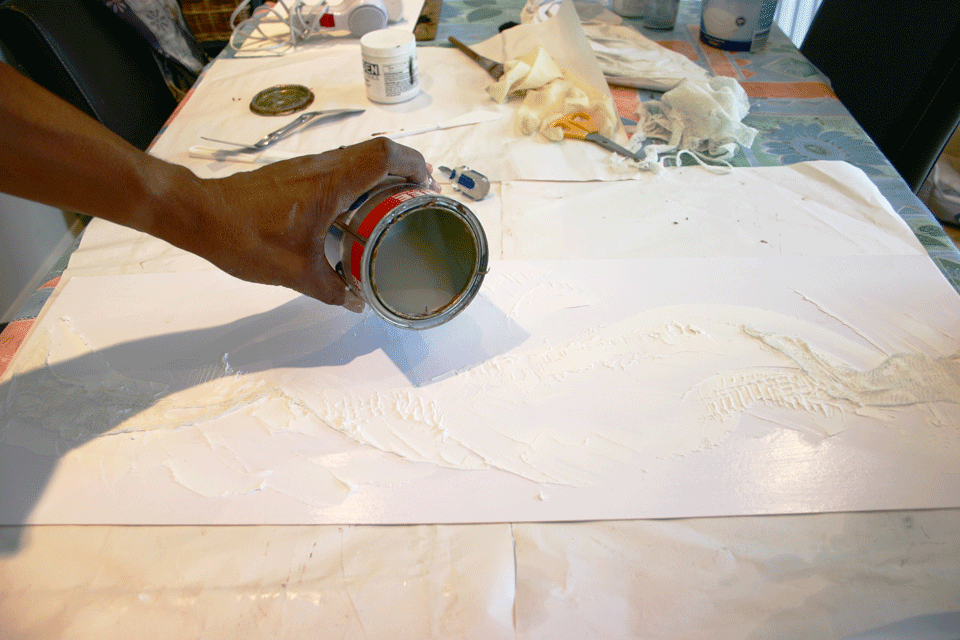
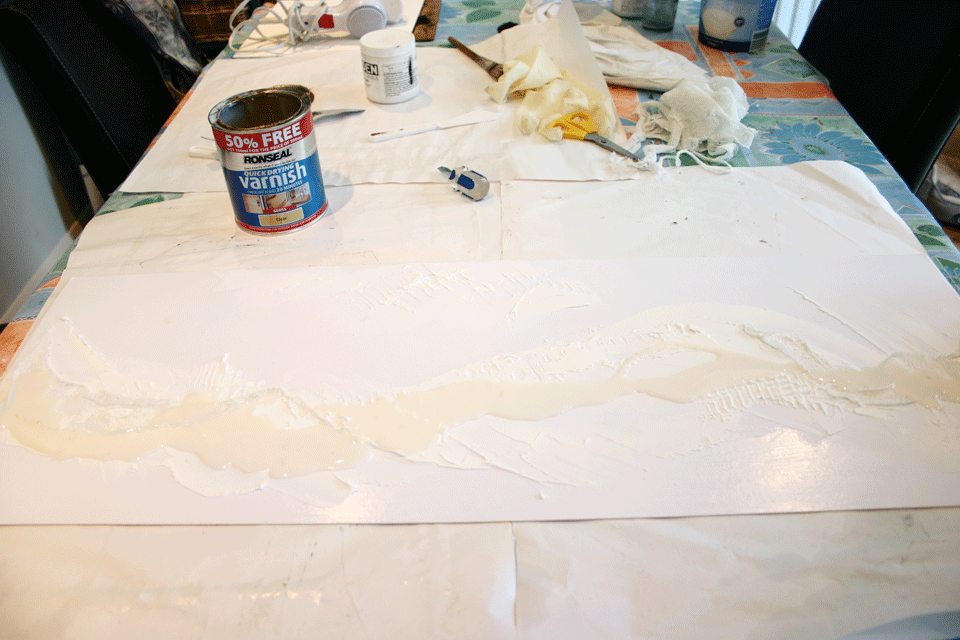
Once I had the basic shape of my textured marks in place, I quickly poured clear varnish around and through the crackle paste. I then left the varnish to settle a bit, to see where gravity might take it.
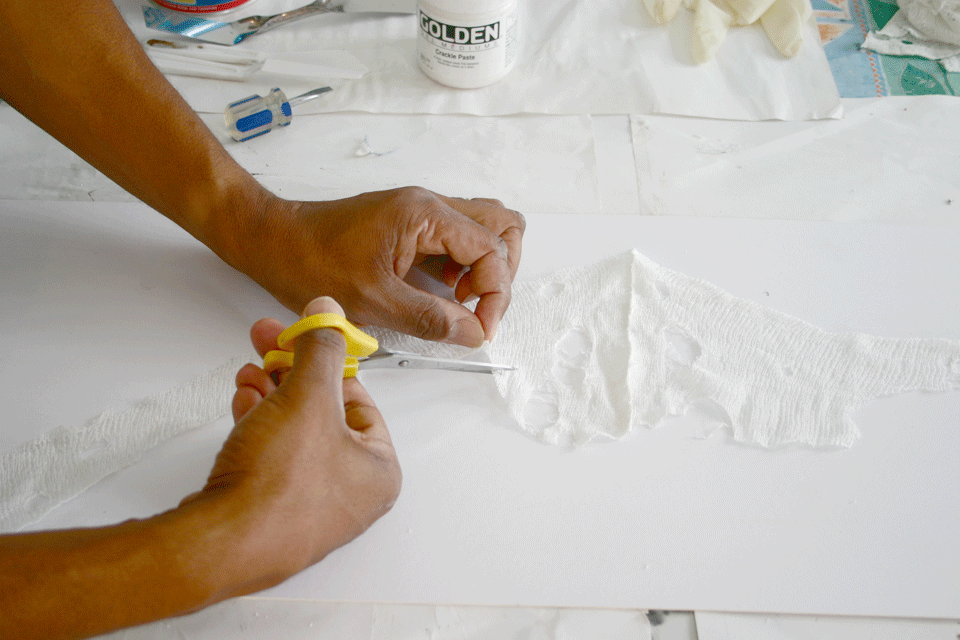
As in the first printed image of this series, I wanted a different texture in some areas. To prepare, I cut up another old dishcloth and applied glue to the reverse of the cut shapes, ready for sticking.
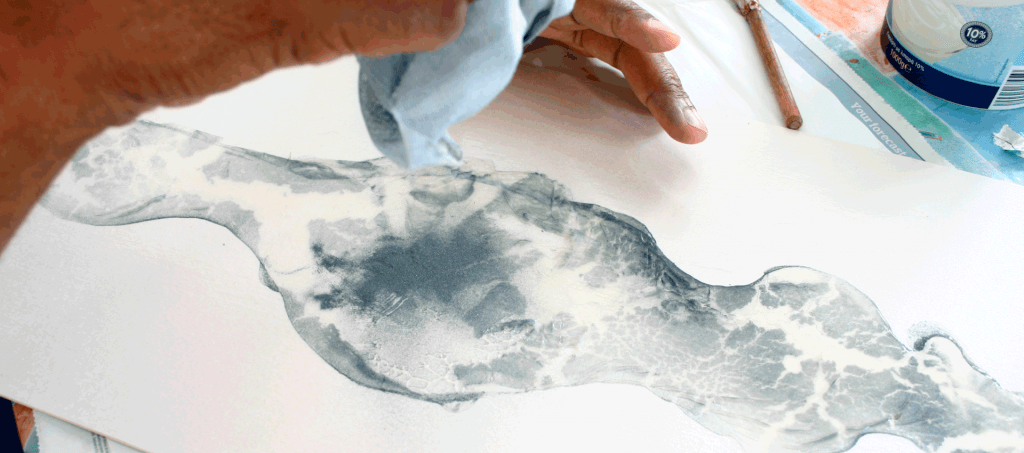
As before, I dusted carborundum powder onto the wet varnish…

… and used the hot air from a hair dryer to force the mix to blister and crease.

Here it is! The surface of the new plate, still wet. You can see the edges of the cloth I cut earlier at top left. Also, the dark carborundum powder has started to separate and coagulate. A couple of days are now needed for the plate to completely dry and harden. Once dry, it will be ready to take along to print at The Ropewalk.
I’ll show the prints from this plate in a future post.
Find all my posts about Art Printworks stories on Twitter at: #artprintstories