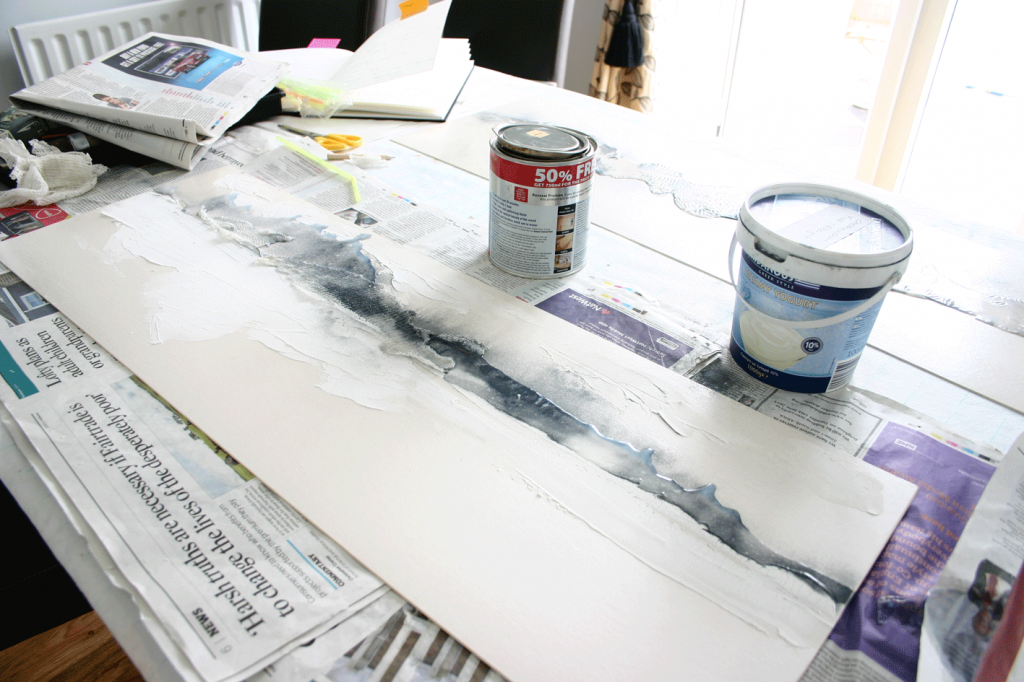
Creating the printing plate
In the first post, I described the inspiration behind the choice of subject matter for the image. Here, I’ll focus on how the printing plate for the collagraph was made.
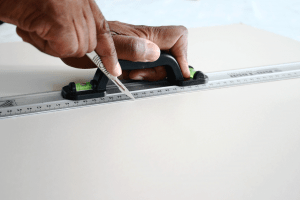
With my sketch of that stretch of Lincolnshire coast in mind, I decided that I wanted the print to have a long and relatively thin proportions. So, I cut my basic plate shape out of ordinary 2mm mount board – this can be bought from any art or craft shop.
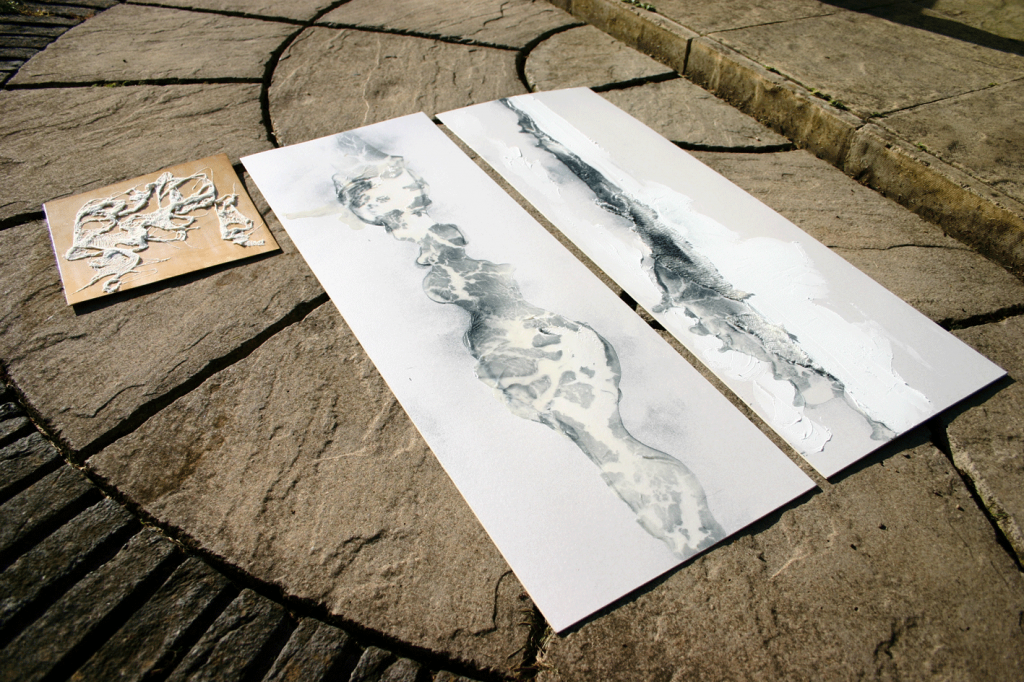
As shown above (right), the edges should be cut at an angle (beveled). This helps the plate to pass more easily under the press roller during printing. It also helps to avoid the edge of the board cutting through the printing paper under the heavy pressure applied on press.
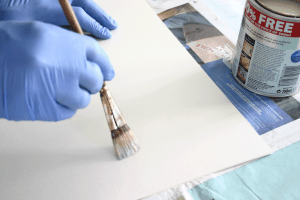
Once cut, the board is coated on both sides with either French Polish (shellac) or ordinary quick-drying household varnish. These can be bought at most hardware or DIY stores. This is a protective coating, to seal the surface, to prevent liquids from penetrating the fabric of the board during the remainder of the plate-making process and during printing. On the right, above, you can see how special attention is given to coating the edges of the board, where the layers have been exposed through cutting. Make sure that the underside is also coated.
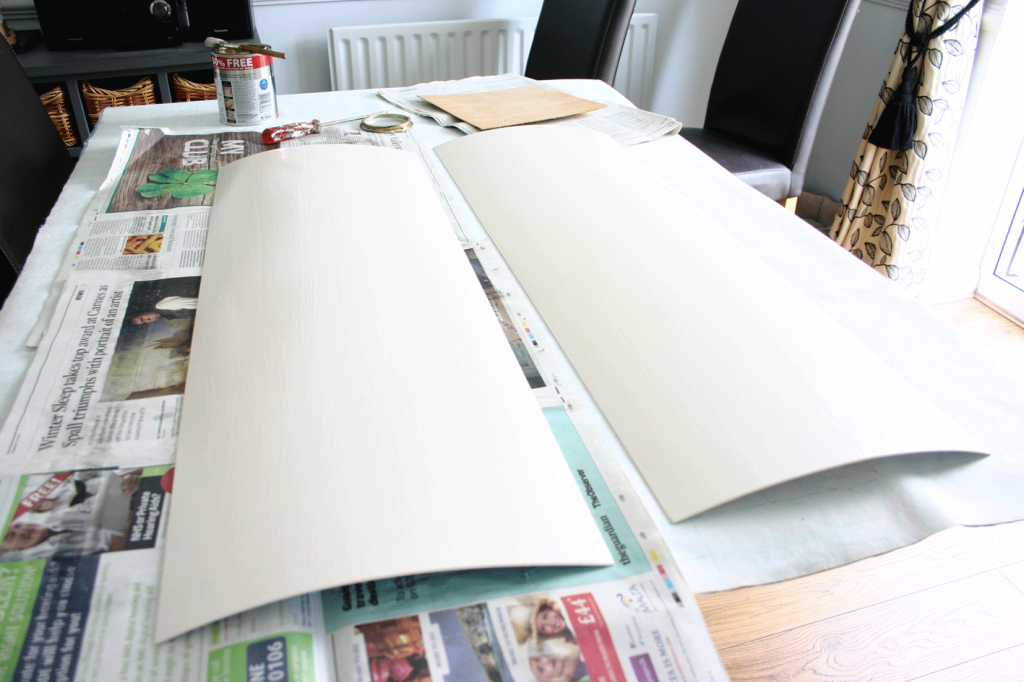
Varnished plates, ready to start working on the image
After about 30 minutes, the varnish has dried sufficiently to allow the image to be applied to the surface. Effectively, the surface now becomes my ‘canvas’ and is where (sometimes!) the magic happens. Although I always have an idea or image in mind before starting work on a plate, I’ve learnt to ‘go with the flow’ and allow interesting things to happen. Of course, this attitude is helped by the fact that I produce abstract imagery, where the only thought in my mind is whether I like the emerging image or not – there is no concept of ‘right’ or ‘wrong’.
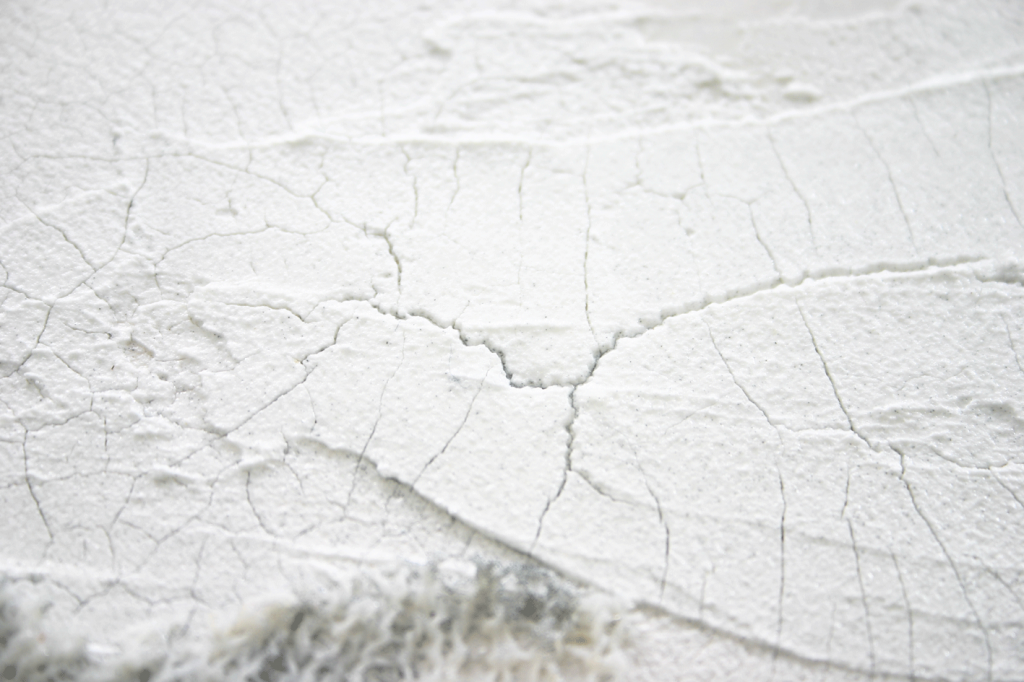
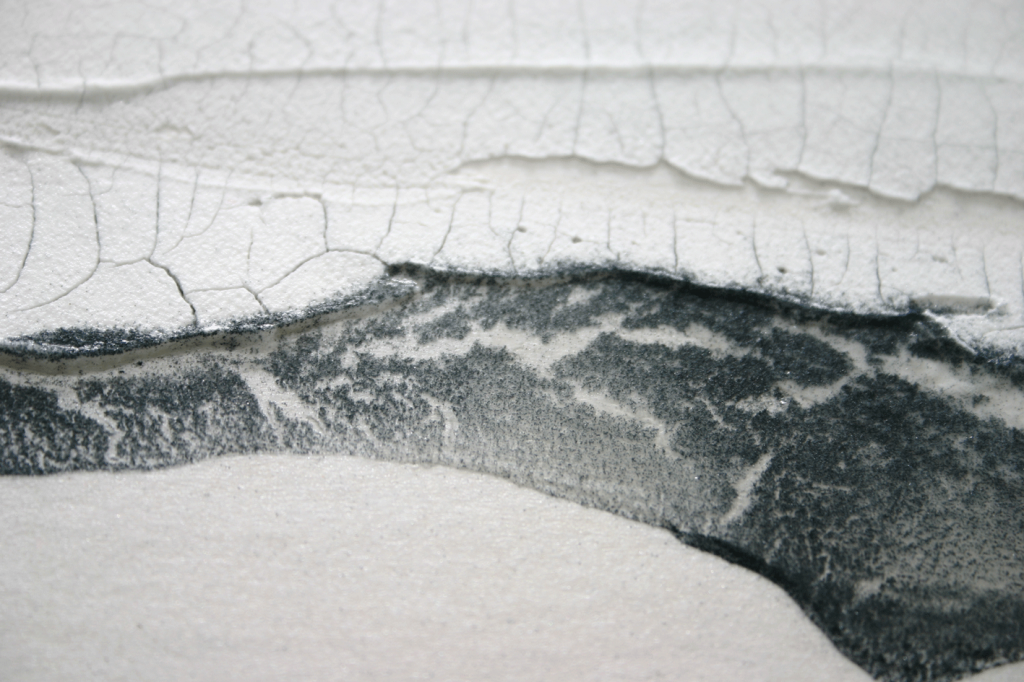
Applying the crackle paste with a plastic shaping toolSo, with my original sketch in mind, I begin working on the image (above). For this image, I’m using crackle paste to create a rough texture. Unfortunately, I don’t think it’s widely available in all art shops. I got mine online, from Art Discount (here’s the link http://bit.ly/1mZXRRG). It’s a smooth paste that’s easy to move around with a palette knife or plastic craft tools. If a thin layer is applied, fine cracks appear in the surface as it dries naturally. Wider cracks appear if you lay the paste on really thick. However, be careful not to build up a layer more than about 2-3mm thick, as the surface may crack under the pressure of the roller during printing. You can make these cracks wider by forcing the paste to dry faster, using a small hair dryer on a warm setting. I continue creating my the shape and textures I want, along the length of the plate.
Crackle gel. The cracks appear in the drying processUsing varnishes creatively
As described above, varnishes are usually employed as an overall protective layer. However, I have created many interesting and surprising images on plates by literally dripping or pouring varnish onto them. For most of these, I had previously coated the surface with carborundum powder (I’ll show that technique in a future post). Here, I wanted the varnish to appear in a specific ‘corridor’ to represent water, with the ‘shore’ represented by the crackle paste at the borders of this area. So, I started pouring the varnish along the central area of the dried crackle paste. As I mentioned above, it’s good to be open-minded when creating images in this way – if you like what you see, that’s all that matters.
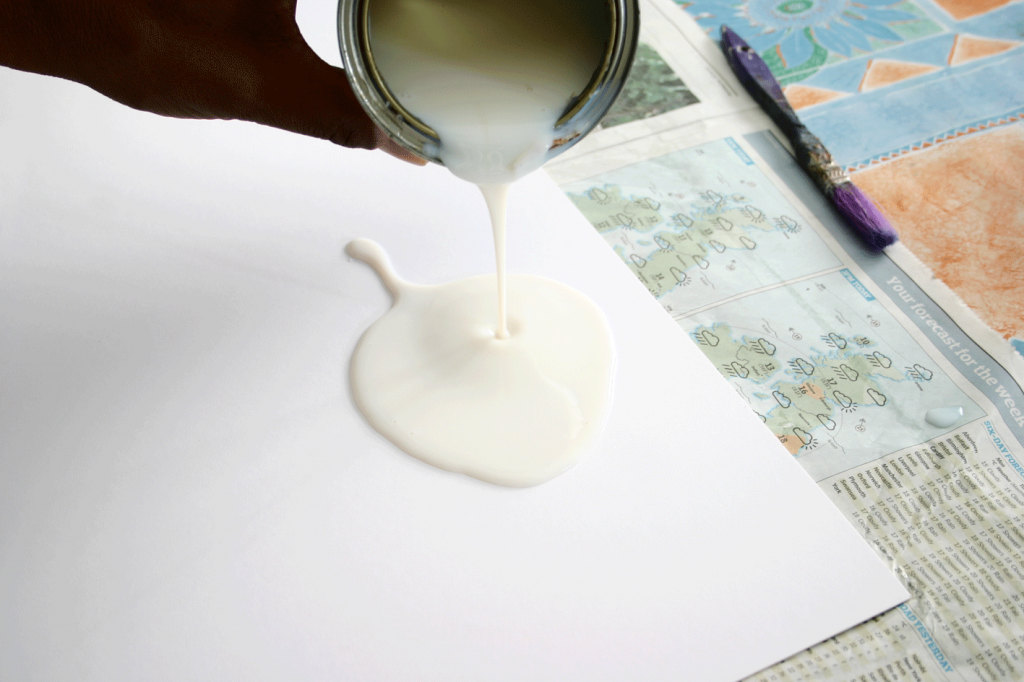
The image above shows a test pouring on a piece of spare board, to give me an idea of the rate of flow I might get on my plate. Once the varnish had been poured onto my plate, it looked pretty good. However, I knew that I wanted more of a mix of textures on the borders between the varnish and the crackle paste. For this, I needed carborundum powder.
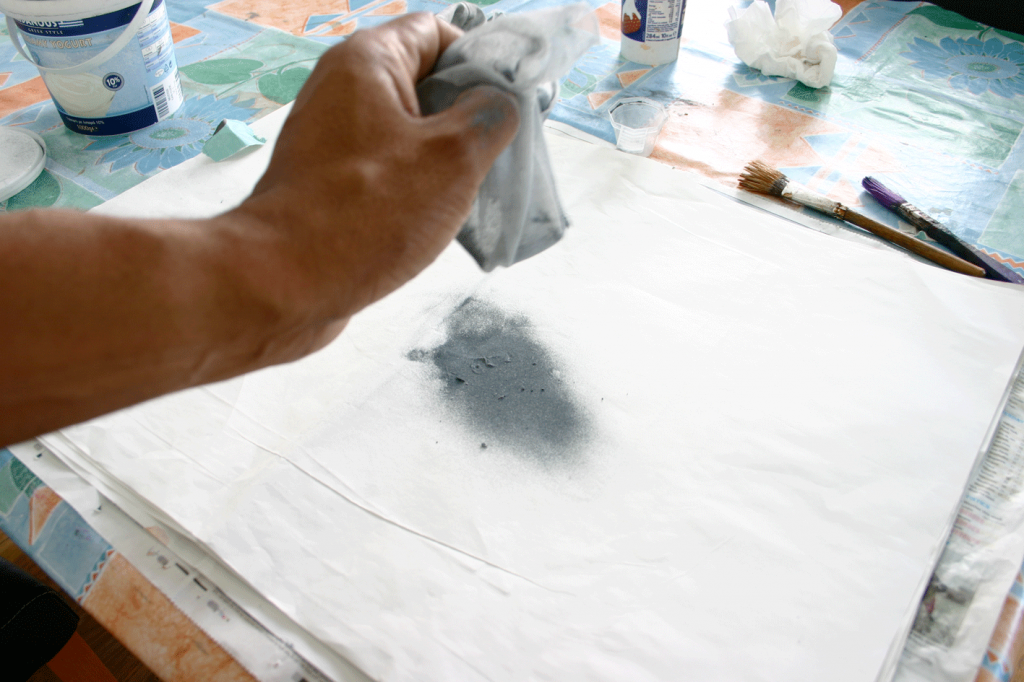
On the test above, you can see how the carborundum powder is shaken through a fine cloth or muslin. This removes any larger particles and results in a fine, even dust being applied to a surface. Applied whilst the varnish is still wet, the powder stuck to its surface, just where I wanted it to appear. However, what I got was a more even coating than I expected, so I decided to improvise.
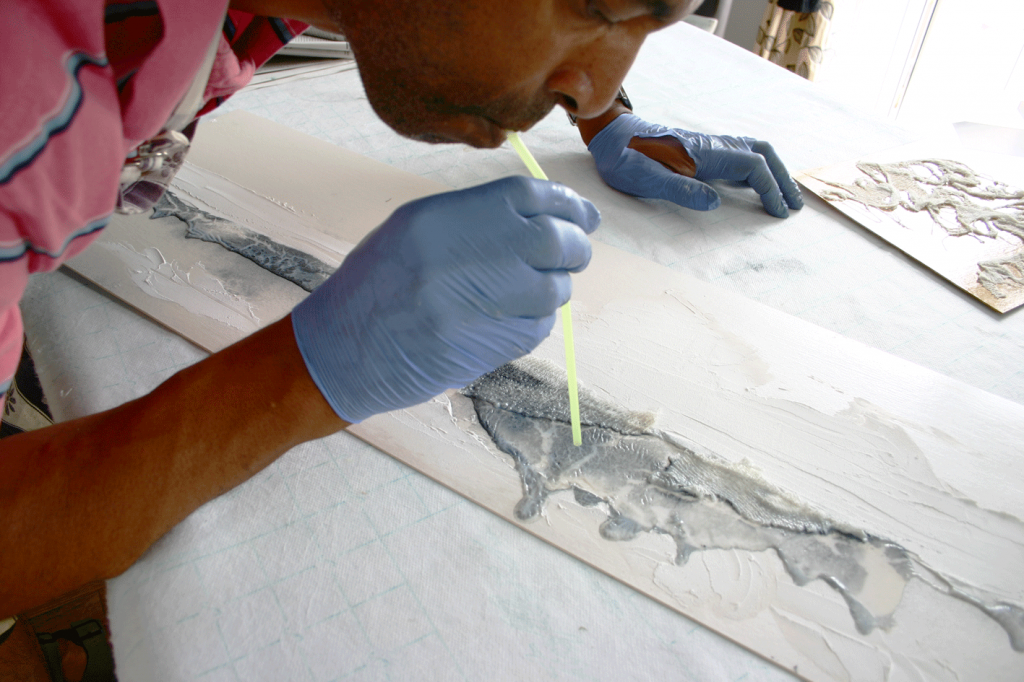
Above: I used a plastic straw to blow the varnish around into areas that formed more interesting shapes.
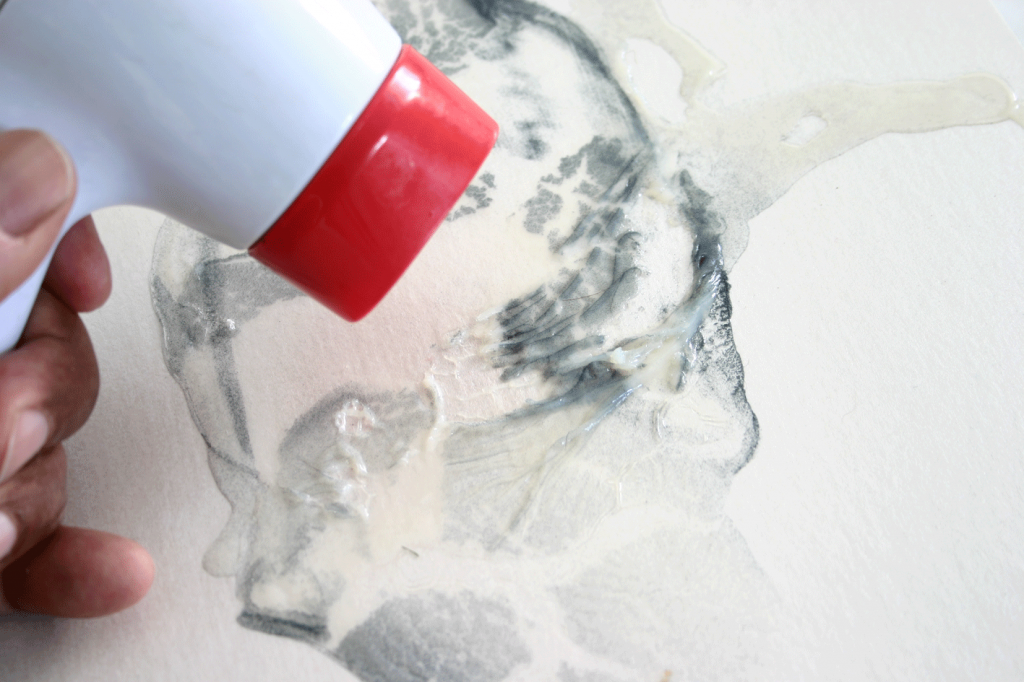
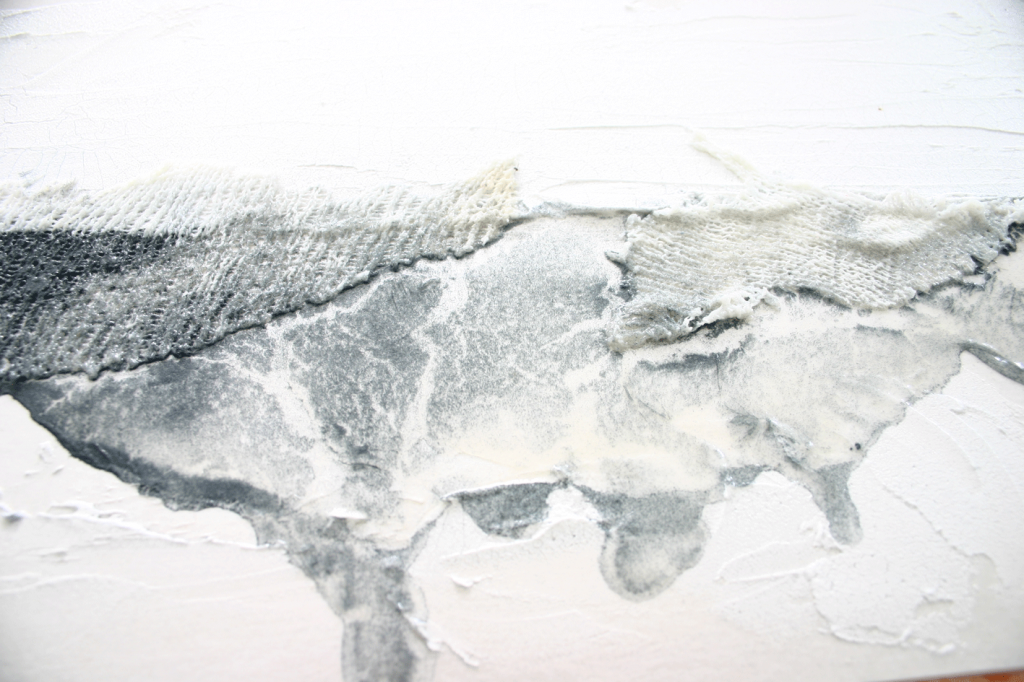
I then remembered how, whilst working on previous plates, I had used a hair dryer on varnish causing the surface to blister. So here, I used the dryer at its hottest setting. The picture above shows how the varnish and carborundum separated into either clear, varnish-only areas, or areas with different amounts of carborundum. The fissures or ‘tears’ in the varnish/powder were reminiscent of veins of molten lava. Essentially, I liked what was happening, so I kept going along the image area until it looked interesting enough to stop (always difficult to know when this point is reached!).
I then left the plate to dry, before coating the whole plate in a last application of varnish, to make sure everything on the plate was bonded to the surface. On this particular day it was very warm outside, so I then put the plate – along with a couple of others I worked on in that session – outside in the warm sun to finish drying. One thing to remember though – make sure that the plate has dried sufficiently before putting it outside, otherwise will be sure to use it as a landing pad.
Here are some close-ups and an overall view of the final, print-ready plate:
In part 3, I’ll describe the printing process and show the finished prints.
Find all my posts about Art Printworks stories on Twitter at: #artprintstories

