Printing the plate
In the last post, I described how the printing plate for the collagraph was made. Here, I’ll complete this ‘Print Story’ by showing and describing how it was printed.
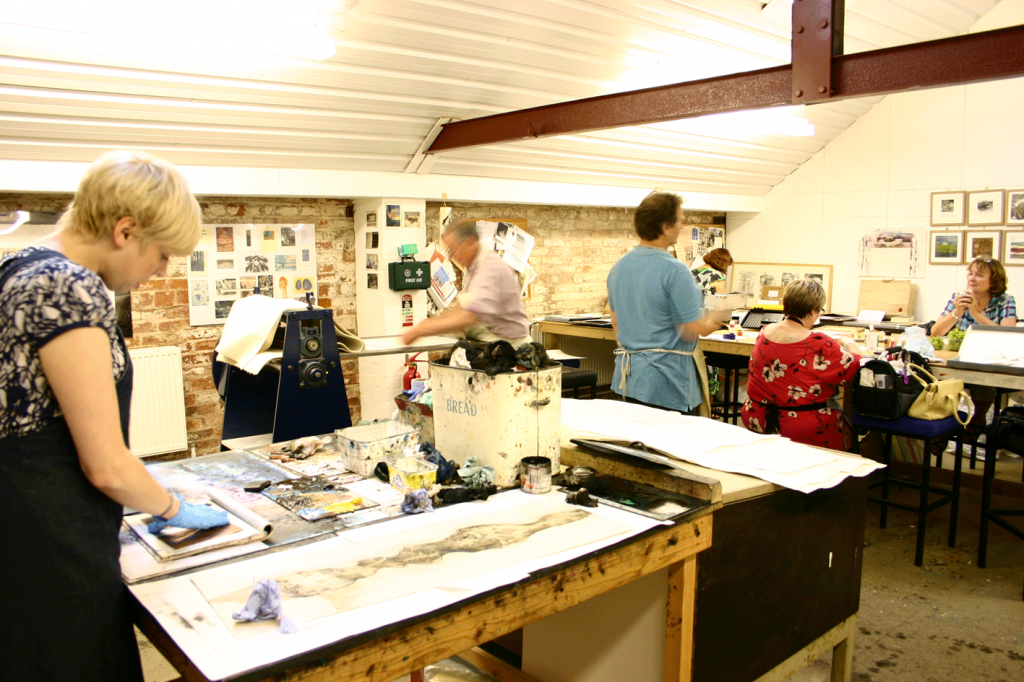
Yesterday, I loaded all my printing paraphernalia in the car and made my usual the familiar one hour journey to join in a prinmakers’ session in Barton upon Humber. I print at The Ropewalk, a Grade II listed former rope factory. It’s a fabulous arts centre, hosting music, theatre, comedy, as well as artists’ workshops. It also has a dedicated Print Room, where, almost every Wednesday afternoon, a group of around 6-8 printmakers share the facilities, working on and printing etchings, drypoints and in my case, collagraphs. There is a real sense of community here, and we all help each other out as much as we can, with practical help and advice on techniques, materials and references to interesting things we’ve seen.
Having made the printing plate at home, all that remains of the process is to ink the plate and make the print using the press. In the Print Room we use an etching press around 50cm wide. It gives us precise control over the pressure of the press at both ends of the rollers. The press size enables me to produce large scale collagraphs, as well my smaller works of those of the other printmakers.
Inking the plate
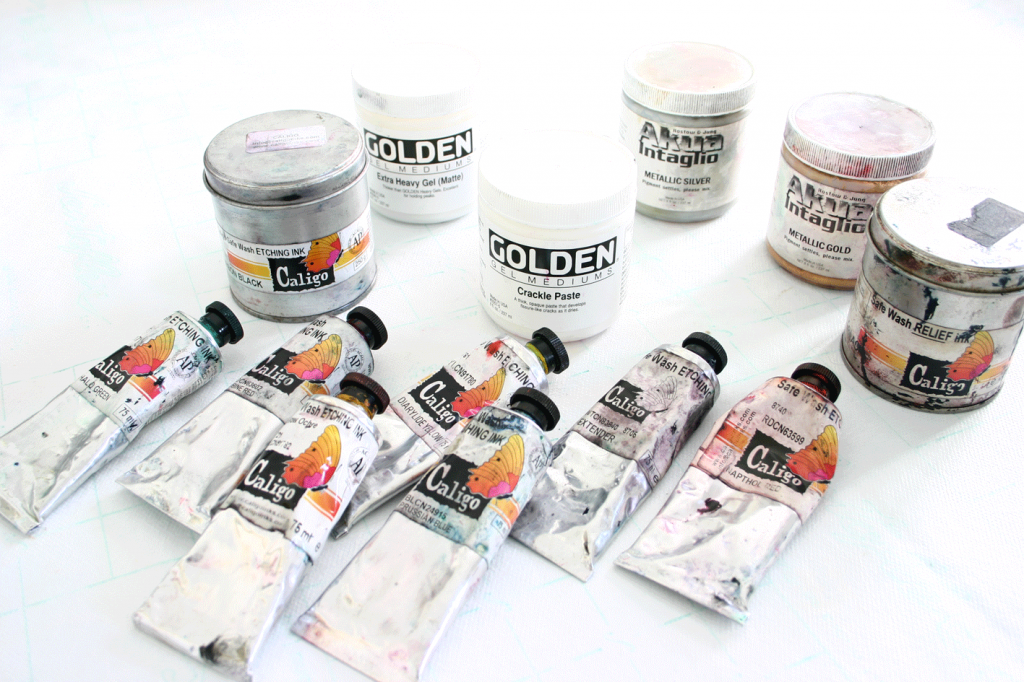
Resident artist and printmaker Tim Needham runs the Print Room sessions and is on hand to give us help and advice with our plate preparation and printing on press. Basic ink colours, such as black and burnt umber are provided for us. However, I have bought a wider range of blues, greens, reds and yellows to enable me to create other colour mixes. However, it’s interesting how often great prints are made using just one or two colours, often using just black, black and burnt umber or black and sepia. I use my own versions of these – Caligo ‘Safe Wash’ inks. These can be easily washed from the plate, hands etc with warm, soapy alone, rather than the chemicals needed to clean traditional, oil-based inks.
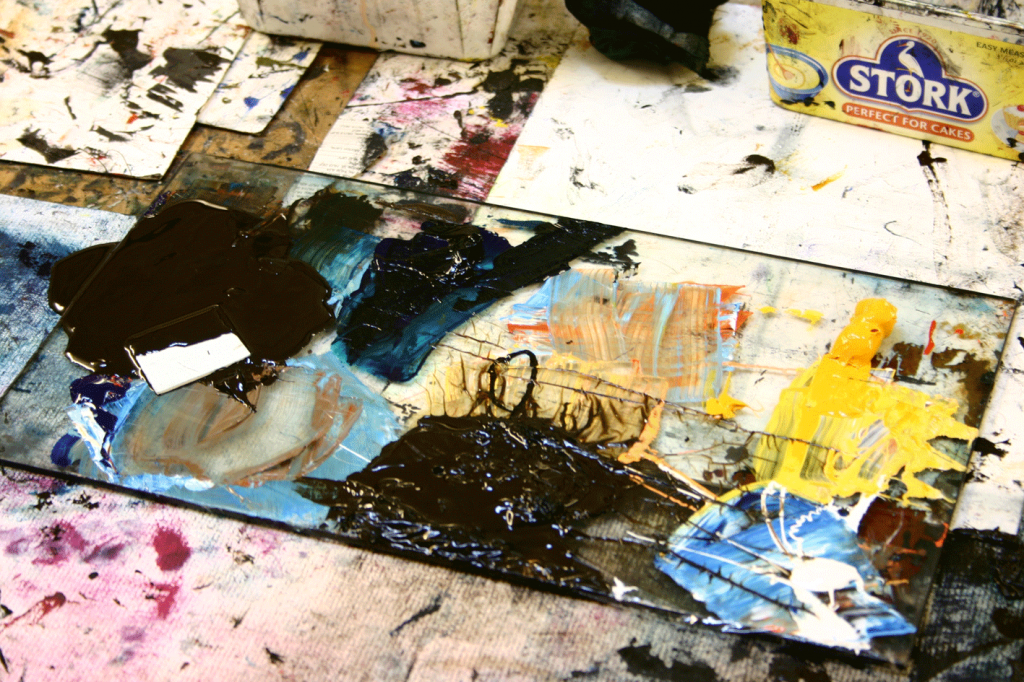
Clothes and hands are protected with pinnies and gloves before starting to ink the plate. Below, the inks are being mixed, sometimes thinned a little (using plate oil) on a sheet of glass. Depending on the texture of the image on my plate, ink is applied using scrim, a light, gauzy material, or plastic shaping tools.
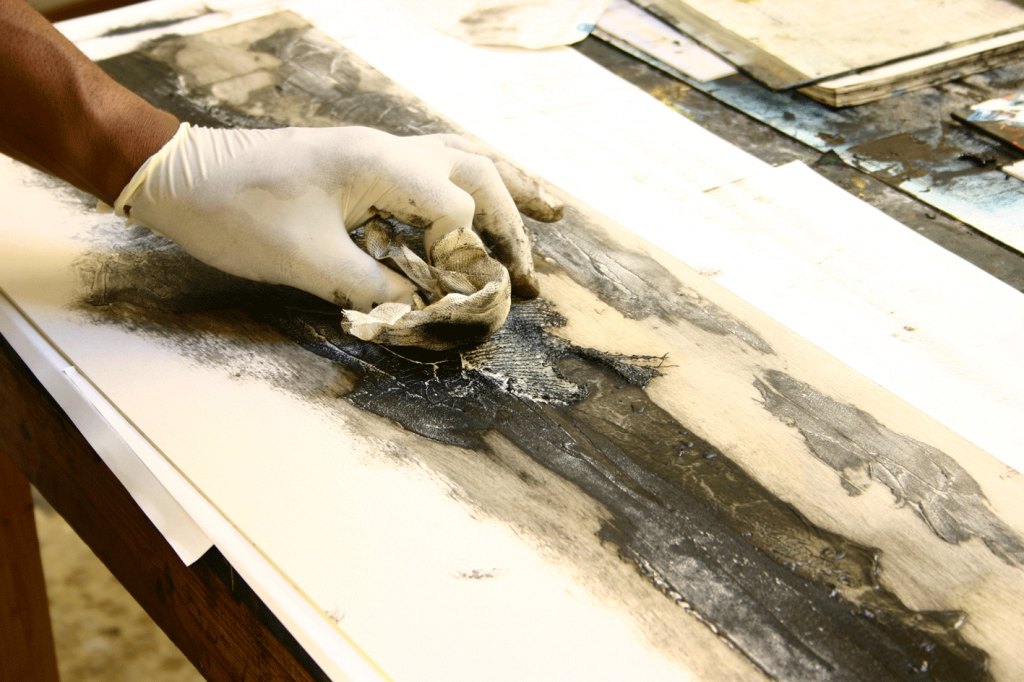
Below, you can see me working on the plate. I’m using the scrim to rub ink into the plate in some areas, or remove excess ink in others.
Once I’m satisfied with how the plate has been inked, I’m almost ready to print. I use heavyweight, high quality papers made specially for the printmaking. These include Somerset, by St Cuthberts Mill, BFK Rives and Hahnemühle etching paper. Here, I’m using the Hahnemühle, as it comes in very large size sheets(106cm x 78cm), large enough to accommodate the size of this particular plate. I heavily crease my paper, before tearing it accurately to size. Alternatively, it can be cut with a large guillotine or trimmer.
The paper is then briefly soaked in a tray of clean water. Soaking paper reduces or removes removes the ‘size’ on the paper. Sizing agents are applied in the paper are used to impart certain desirable qualities. Their main function is to increase the resistance to penetration of water or other liquids into the paper so that it becomes more conducive to printing. I know from experience that the papers I use require only a minute or so in the water bath, before the excess water is removed by placing the paper between large sheets of thick blotting paper. I then rub the moisture away by pressing with the hands on top of the blotting paper through a clean sheet of spare paper. The printing paper is then ready for use.
Printing
First, the plate is placed in the flat, steel base, or ‘bed’ of the press. The prepared paper, which is larger then the image area, is then placed centrally on top of it. Wool ‘blankets’, which protect the press rollers, are then placed on top of the plate and paper, before using the handle on the large press wheel to wind the assembly through the press.
Now comes the ‘nail biting’ bit, when you find out if all the creativity and hard work that went into generating the idea and making the plate was worth the effort. Once through the press, the blankets are peeled back to reveal the print…
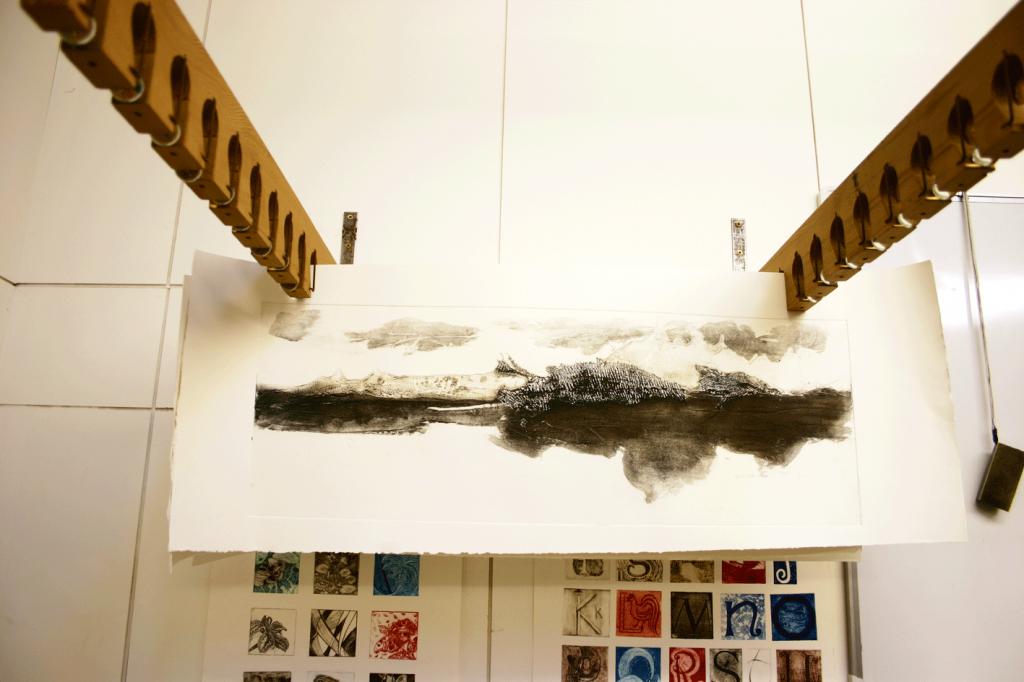
The print, hanging up to dry
It worked!
Believe me, after around 18 months of printing experience, it’s still magical to see a decent print emerge from the press. Even with careful preparation, there’s no real guarantee that the print will be good, or what you had in mind, or expected. This, the first ever print from this plate, is much better than I expected. However, good as it is, it’s not perfect, which means further prints will be done. Each one will require the plate to be cleaned (with vegetable oil), re-inked and run-through the press. For this reason, each of my collagraph prints is effectively an original or ‘unique print’, because it is impossible to ink and print the plate in exactly the same way each time.
I hope you liked this ‘Print Story’. I’ll do more of them as I think of ideas for new prints. Please comment below, or Tweet on my Twitter page, at twitter.com/sinclairashman or at #artprintstories
Many thanks to Tim Needham, The Ropewalk and the other group printmakers for allowing me to take these pictures.
