From time to time, I’ll talk about and show the development of something I’m working on, to give you an insight into how my images come into being, right from initial ideas to final print. For me, after about 18 months of almost solid experimentation, failures and success, it’s interesting to now pick apart what I actually do.
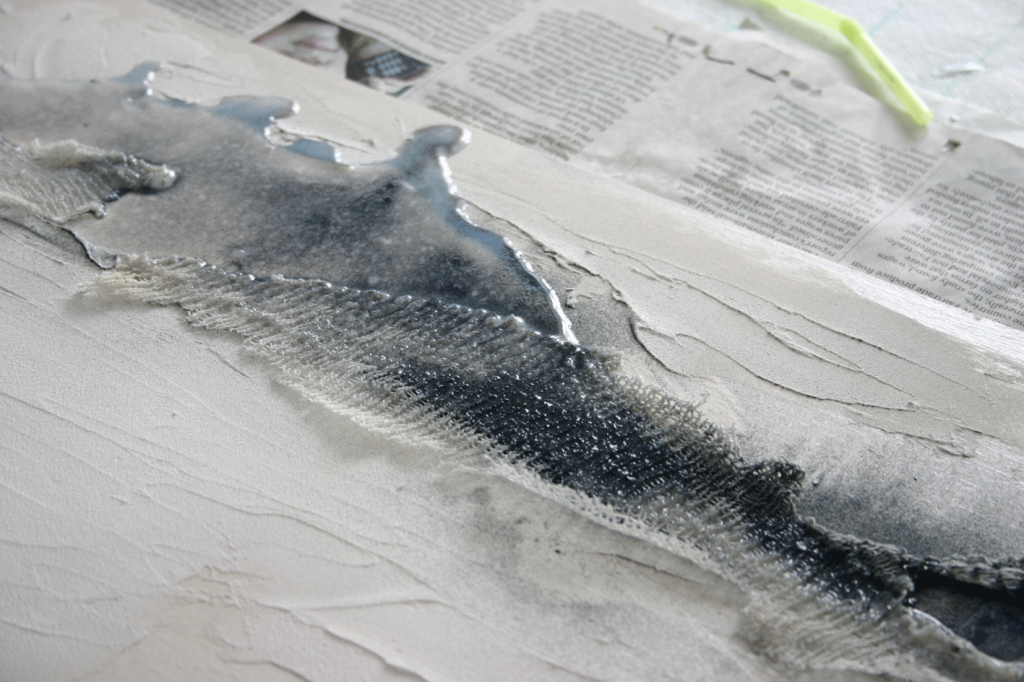
In common with many of the printmakers I’ve spoken to, I enjoy the entire process of making prints. This is fortunate, as all printmakers spend more than 95% of their time making plates and a small fraction of time on printing.This is especially true of ‘collagraphs’, the form of printmaking I use. The name comes from the Greek words ‘koll’ or ‘kola’, which means glue, and ‘graph’, meaning ‘to draw’. Essentially, this involves bonding various materials to a base board, to create differences in texture. It is these variations between rough and smooth areas that create tones in the prints – smoother areas on the plate print lighter and rougher areas print darker.
Many different materials can be used to create textures. I have used various fabrics (including torn up dishcloths), plastic netting (such as fruit bags), threads, plastic washers, household filler, PVA, varnishes, kitchen foil, adhesive tape etc. Alongside these, Carborundum is particularly interesting. This is Silicon carbide, which occurs in nature as the extremely rare mineral moissanite. It’s commonly used on abrasive sheets that we all use for sanding household surfaces prior to painting – what we used to call sandpaper or glass paper. In printmaking, it’s small particle size allied to rough individual surface is really useful for adding texture to printing plates.
Carborundum holds ink very efficiently, helping to produce dense areas of colour in prints. I have used it selectively by dripping PVA onto a plate before dusting the powder over the glue area. The powder will then stick only to the glued areas. After drying, it’s then easy to remove the excess carborundum by bruising it away with a dry brush. it can also be used to cover an entire plate area. This will eventually produce a dark background to a print. The surface can then be worked into with smooth-surfaced materials – such as poured or dripped PVA or varnish, to produce the required level of contrast.
The ‘Lincolnshire Coast’ series
Inspiration
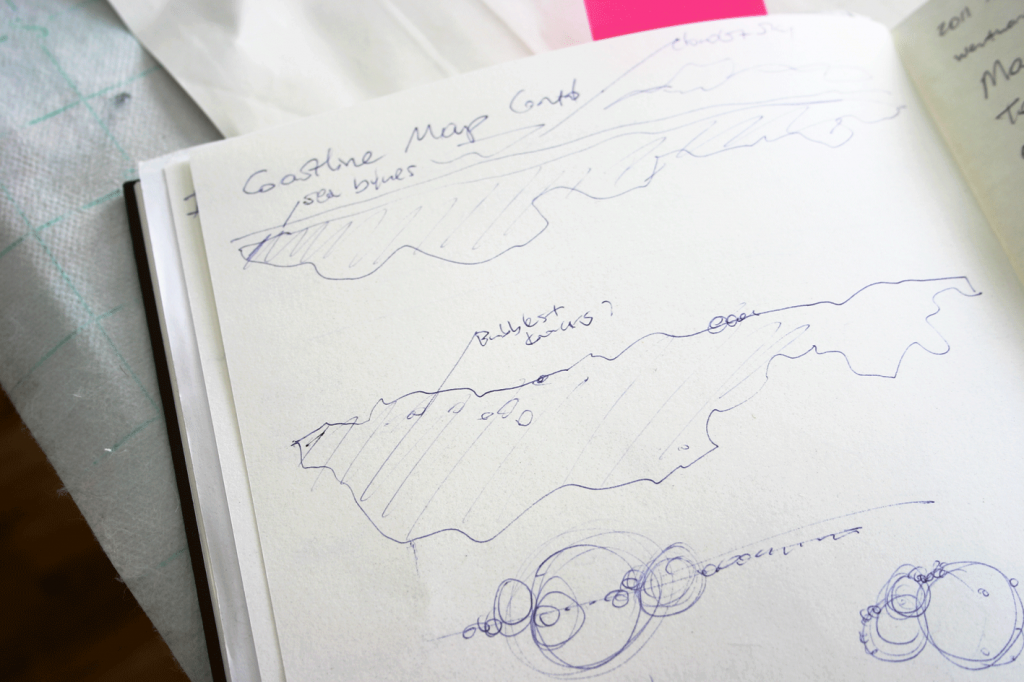
The idea for this comes from a couple of rough sketches I made a couple of months ago.
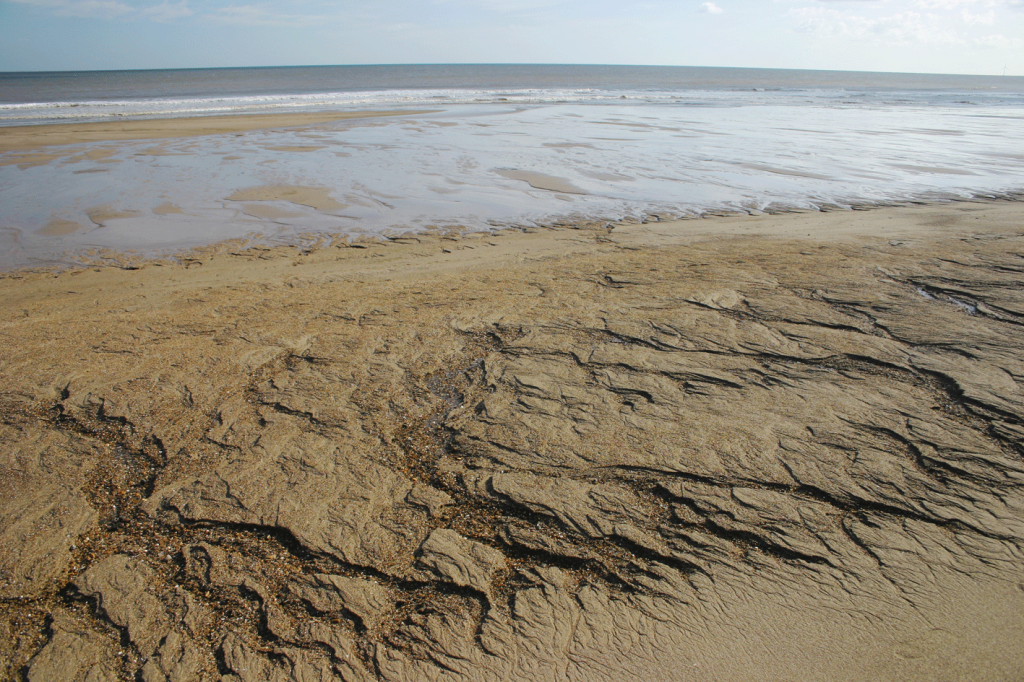
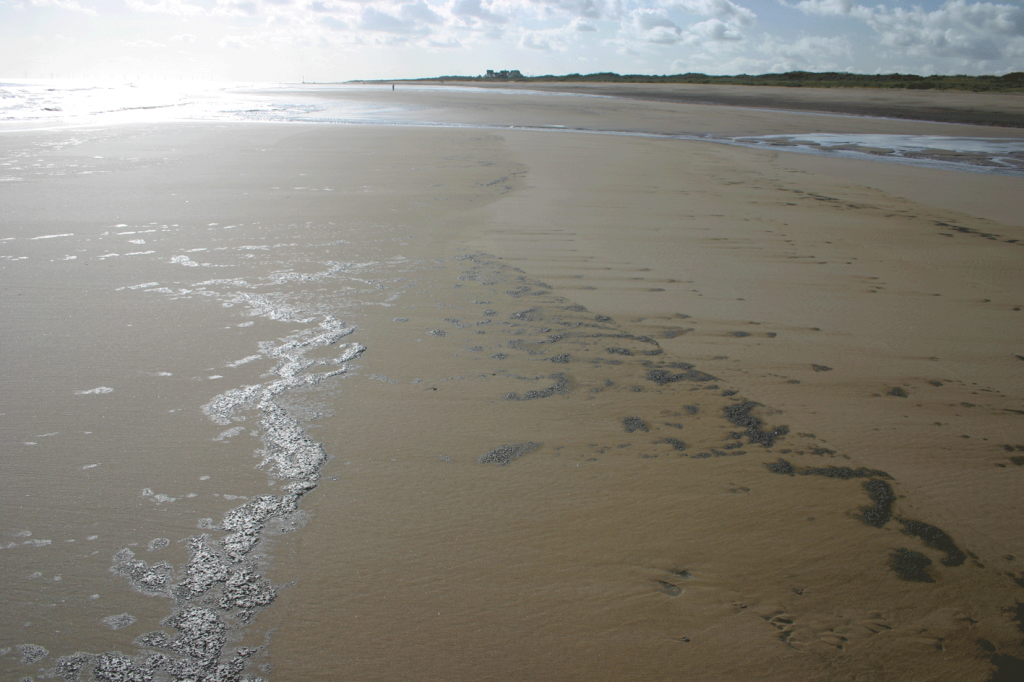
I was thinking about how I might interpret the area of coast close to where I live. However, this was not about geographic or topographic accuracy. As you’ll see from looking around my prints, right now abstraction holds more interest for me than figurative or representational imagery. Instead, I wanted to somehow capture the spirit of the land/seascape and sky. We regularly walk along the beach at Moggs Eye. It’s part of a long stretch of wide, sandy beach, located near Anderby Creek, a few miles north of Skegness and Chapel St Leonards. Inspired by the sketches, I looked back at some pictures I took there back in 2009, the year we moved to Lincolnshire from London.
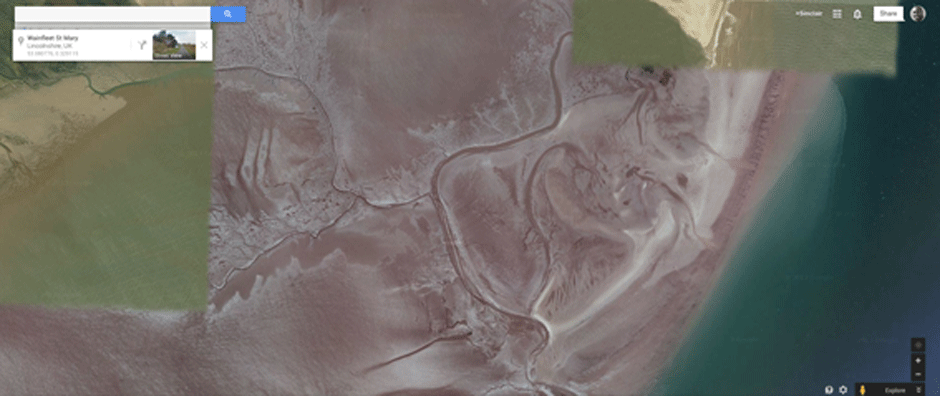
Then, I looked at Google Maps of that stretch of coastline, looking for a different take on the ‘creases and folds’ of the beach and the interesting tones in the land and sea.
Once I had the basic idea in my head, I set to work on creating the printing plate. I’ll talk about this in part 2.
Find all my posts about Art Printworks stories on Twitter at: #artprintstories
