With September’s exhibition at The Ropewalk coming up fast, I’ve been so busy preparing, that I haven’t had much time to think about making new printing plates. Last week though, all that changed. I was able to devote the best part of two days to it, so I headed for the garage and all those bags of materials, ready to make a mess. This is how Six by Six by Eleven came about.
Recently, I’ve loved working in the (for me) small format I call ‘6×6’. At roughly six inches square, it allows me to miniaturise many of the platemaking techniques I’ve been using for a while into something that is relatively quick to create. At the same time, I’m able to experiment with scaling down my mark-making techniques and play with the space, particularly around what happens at the edges. I like the tension that occurs at the perimeter of a plate; sometimes I ‘hold the image back’, as if at the edge of an imaginary cliff; sometimes it’s interesting when I allow a material to spill or break out of the confines of the four sides. As ever, for me it’s about responding to what I feel the material ‘wants’ to do – it just feels right, or appropriate.
With the luxury of time I had, I decided to work even more quickly than usual. I prepared eleven birch plywood plates by coating them on both sides with three coats of quick-drying varnish. Then, I grabbed some materials from all those bags of stuff, looking for interesting texture combinations. Without glueing any thing down, I quickly move elements around. Always responding to the material, sometimes the arrangement is simple and flat, whilst others become more interesting through layering.
So, here they are…
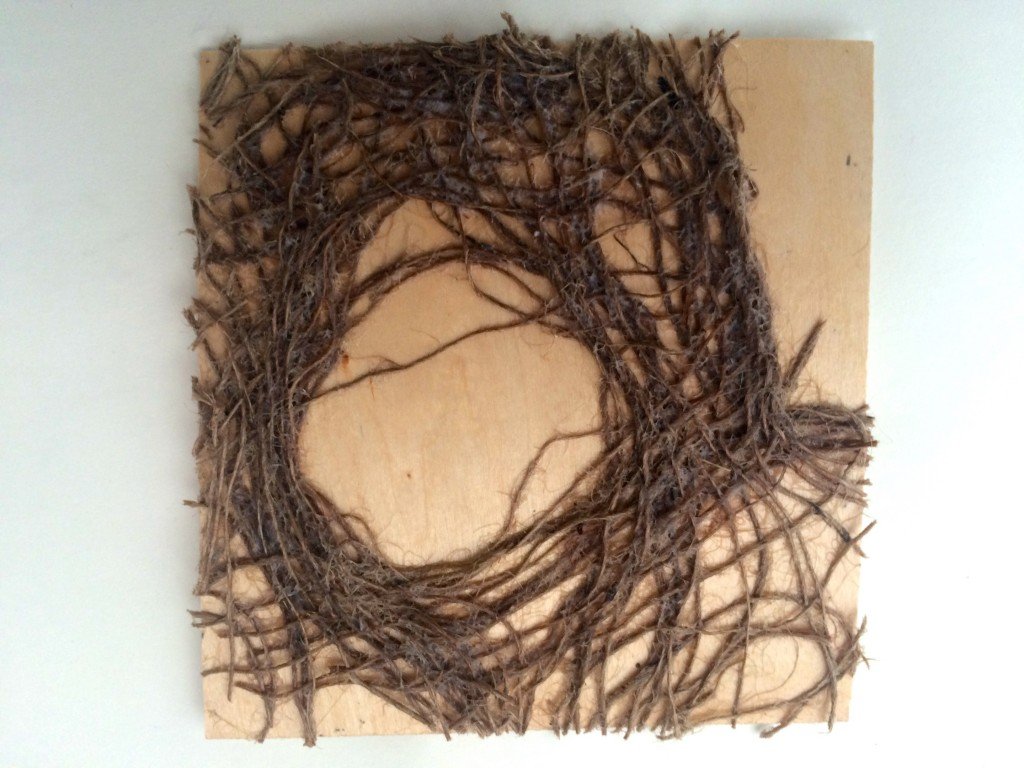
Hessian fibres
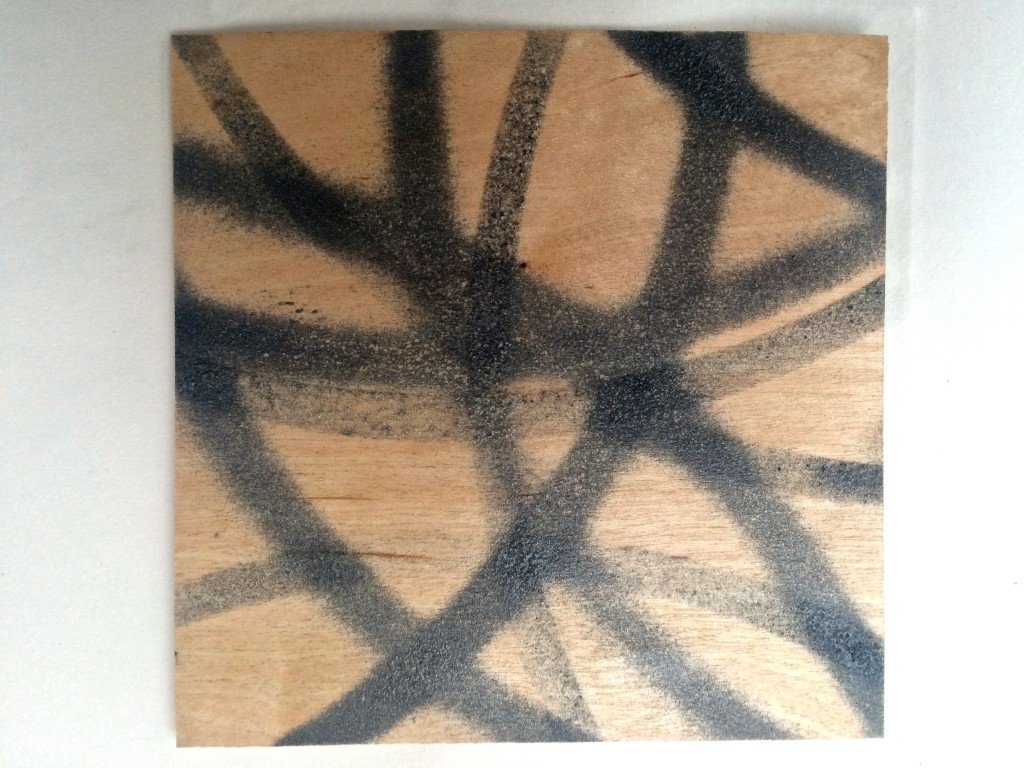
Carborundum: I used a card stencil to spray glue lines, before sprinkling the powder
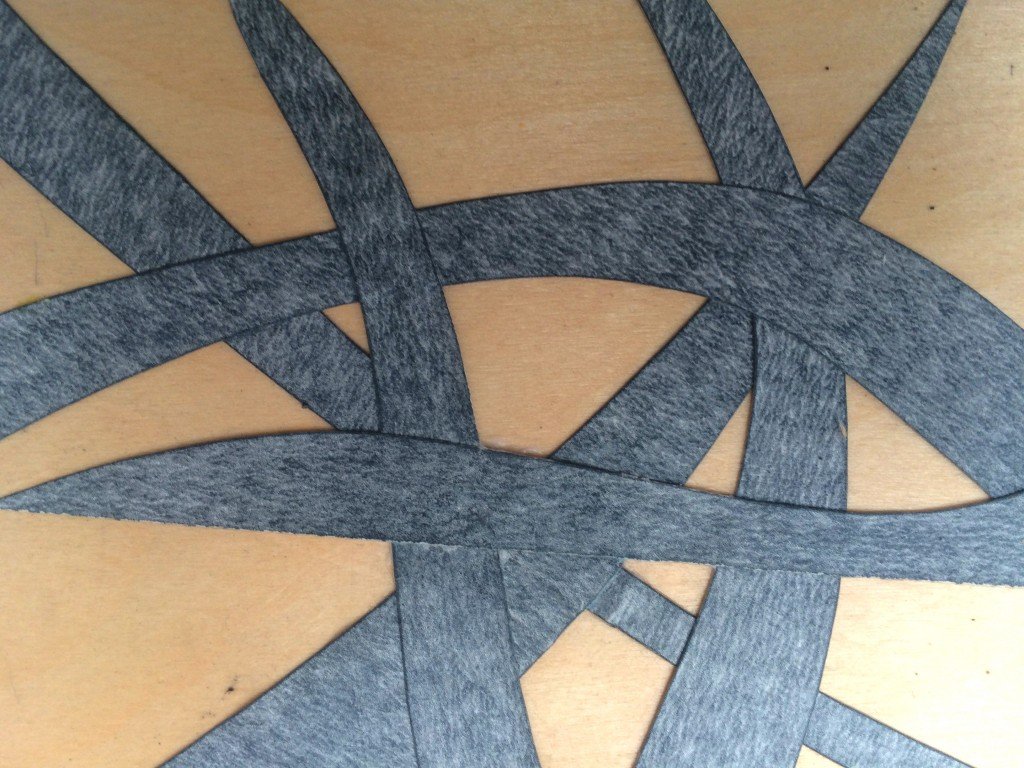
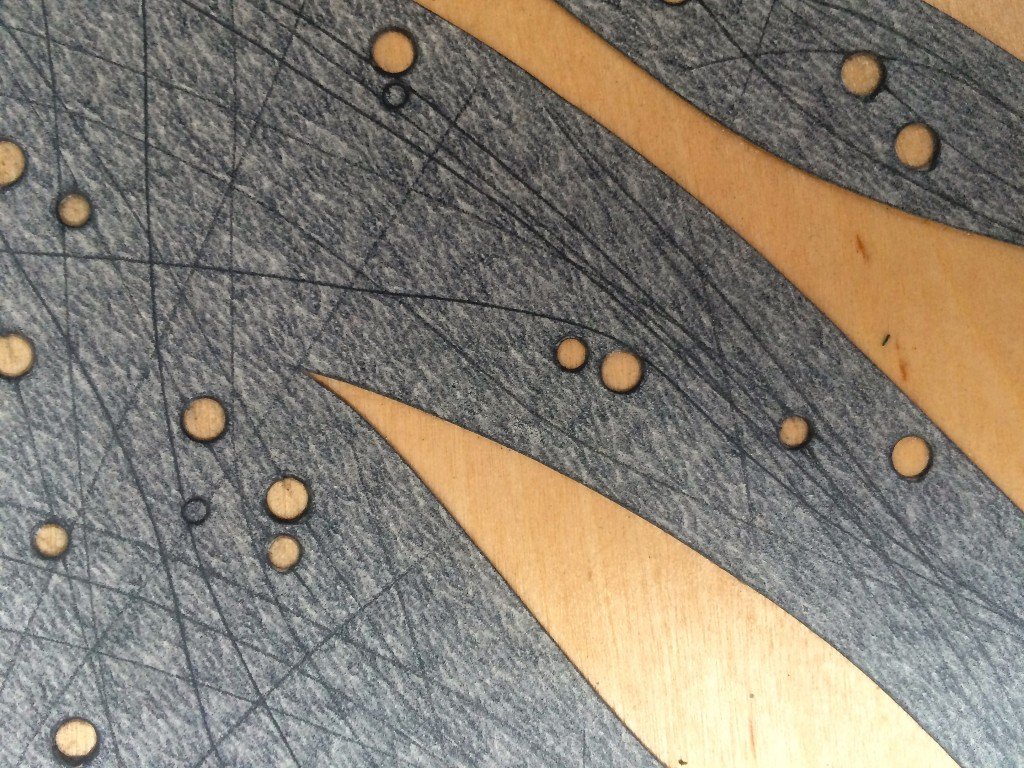
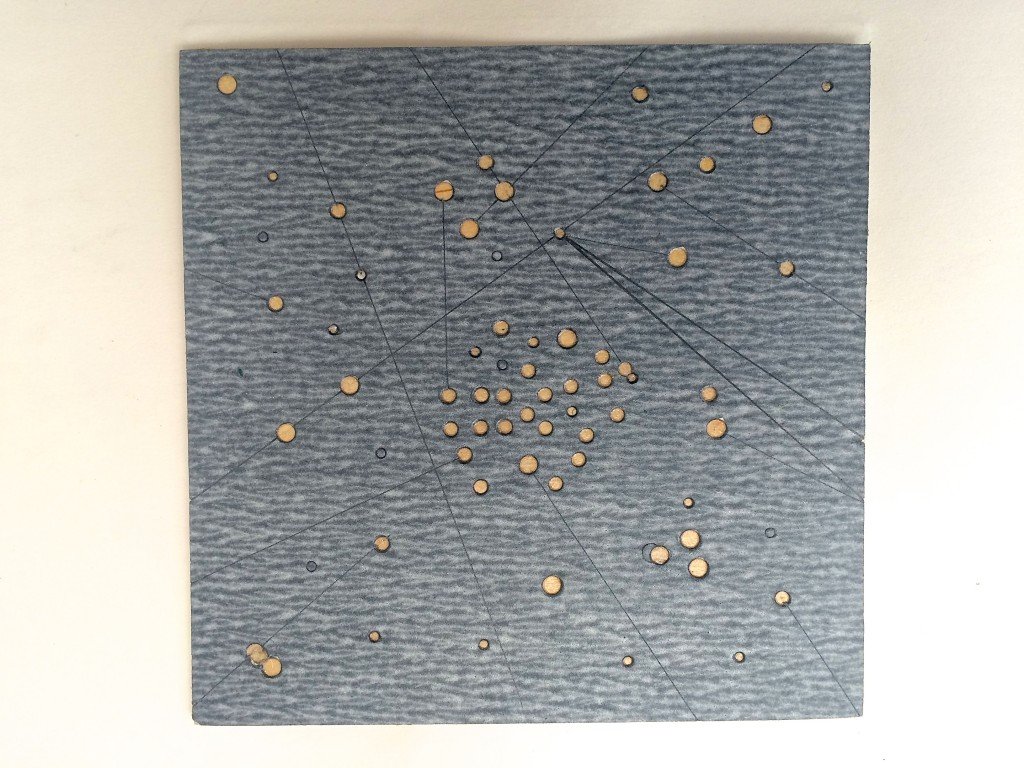
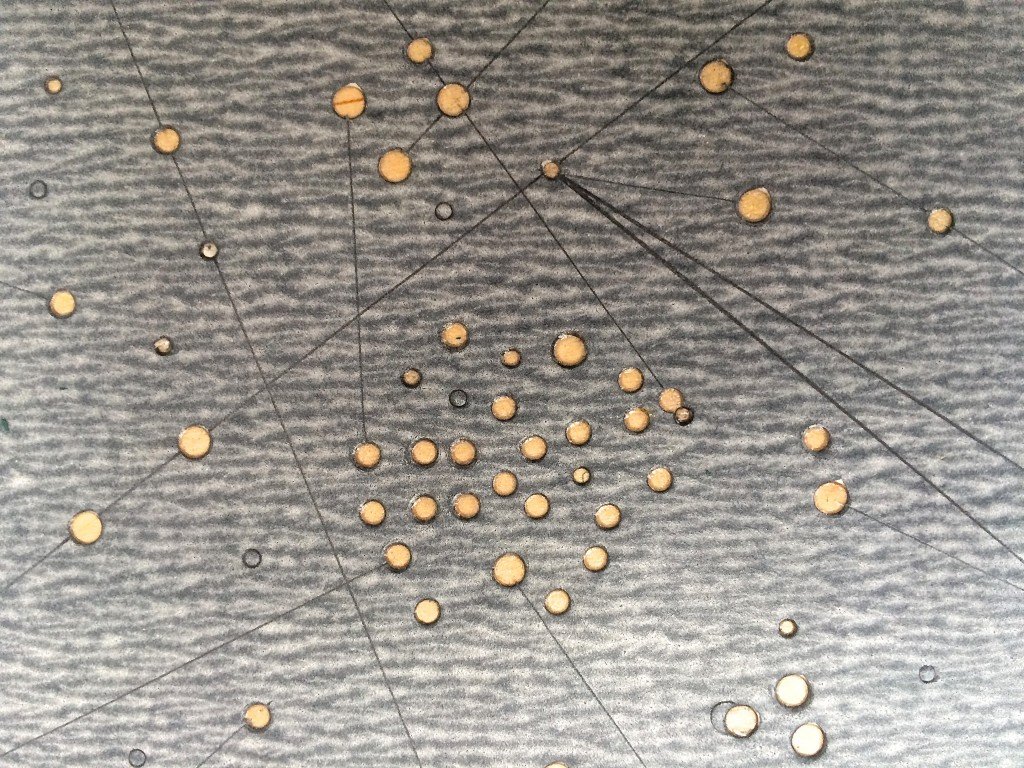
Cut glass paper shapes, with punched holes and scalpel scoring
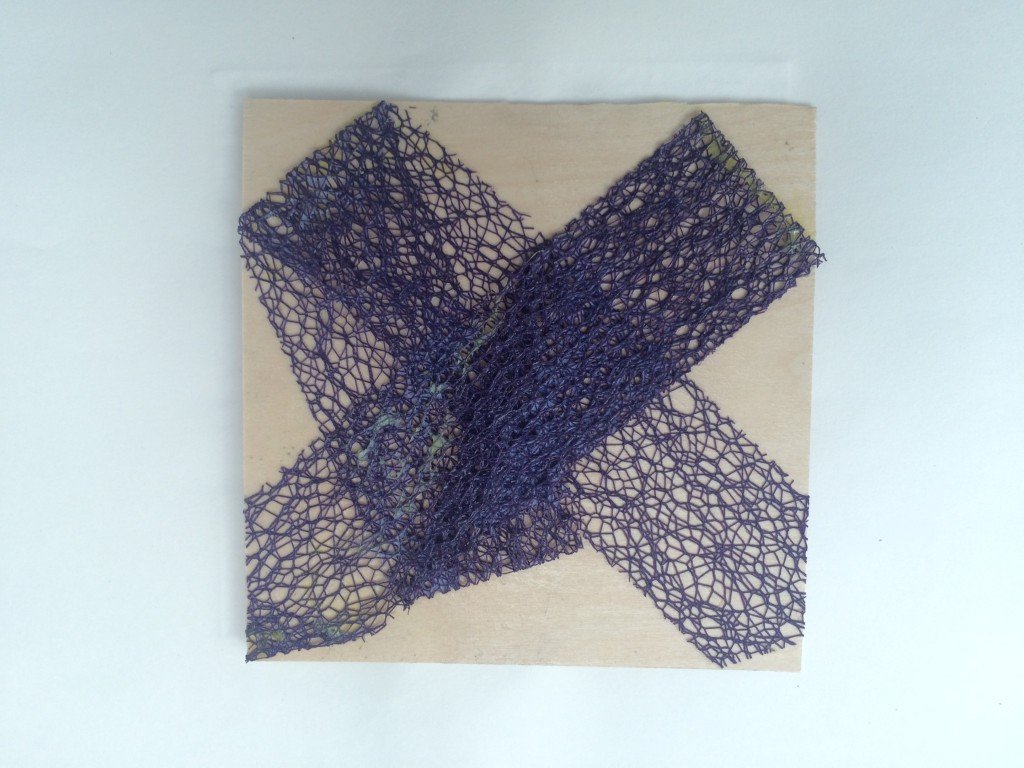
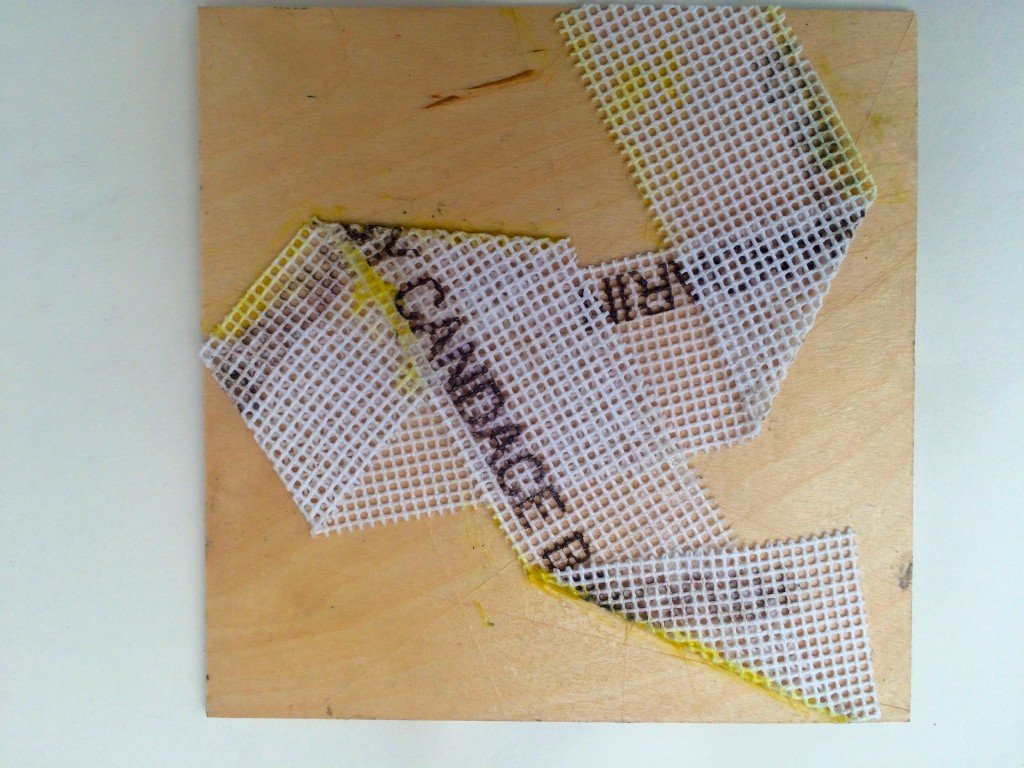
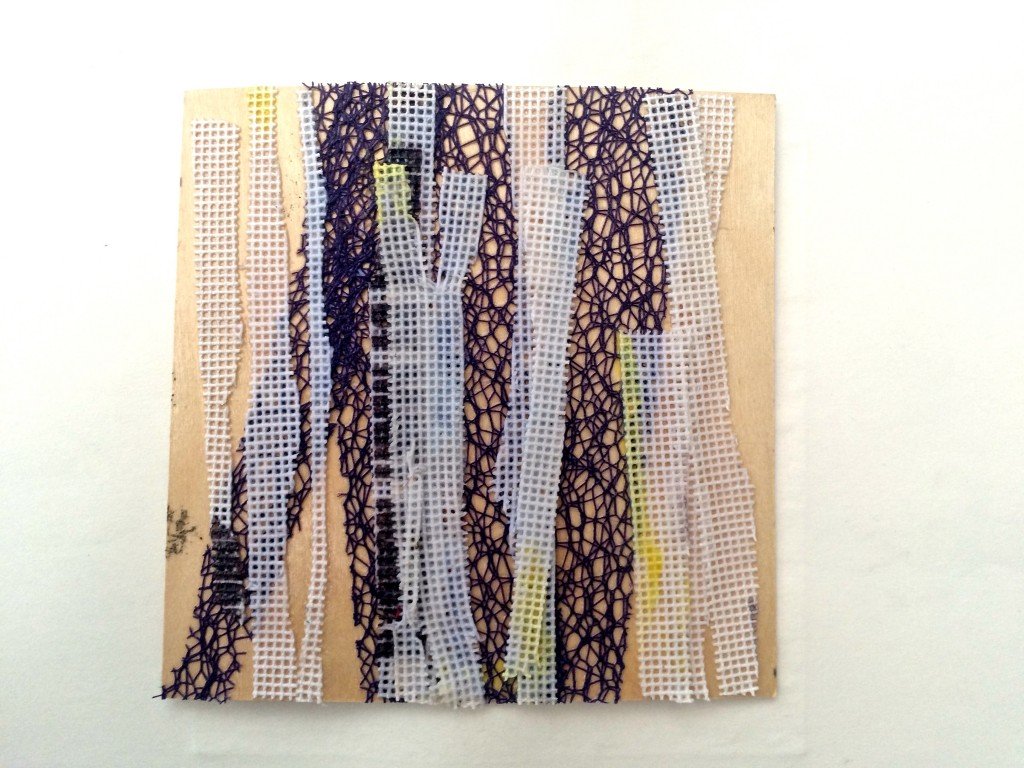
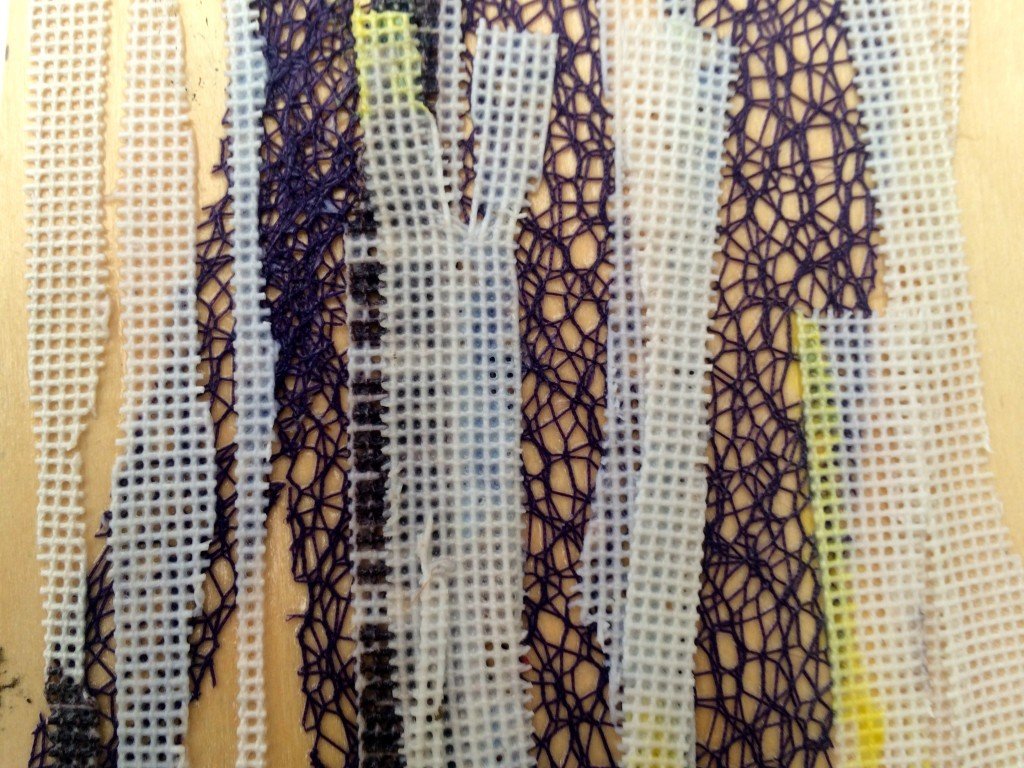
Fabric webbing
Glasspaper, with punched holes and scalpel scoring
Various edging materials
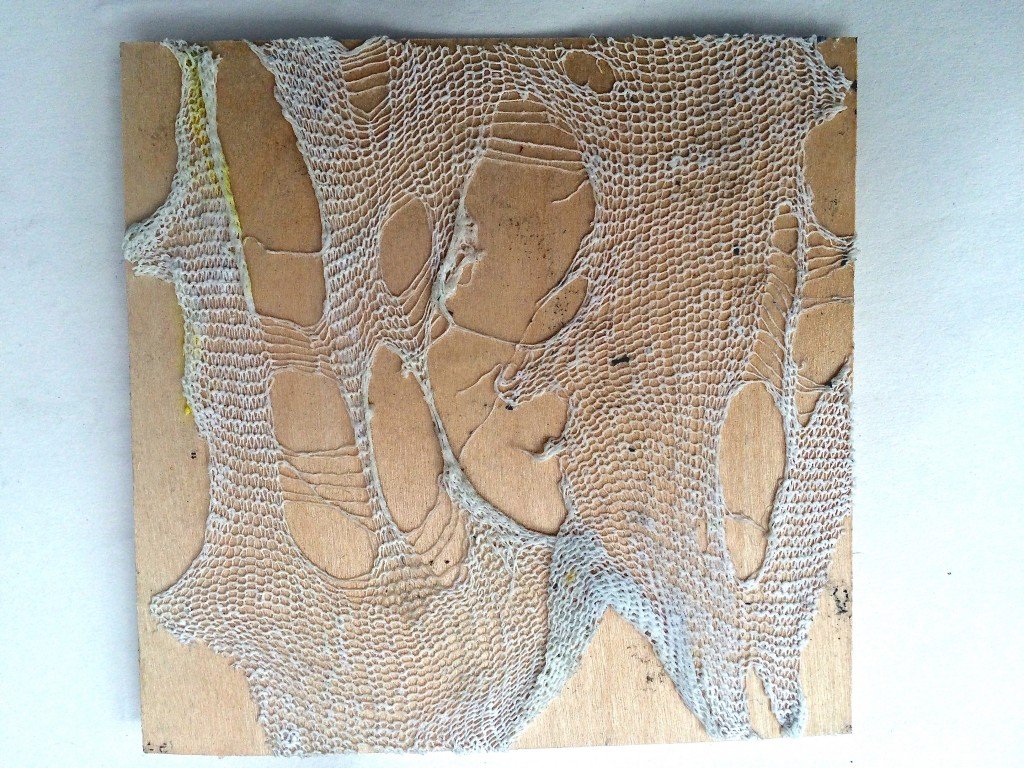
Torn dishcloth
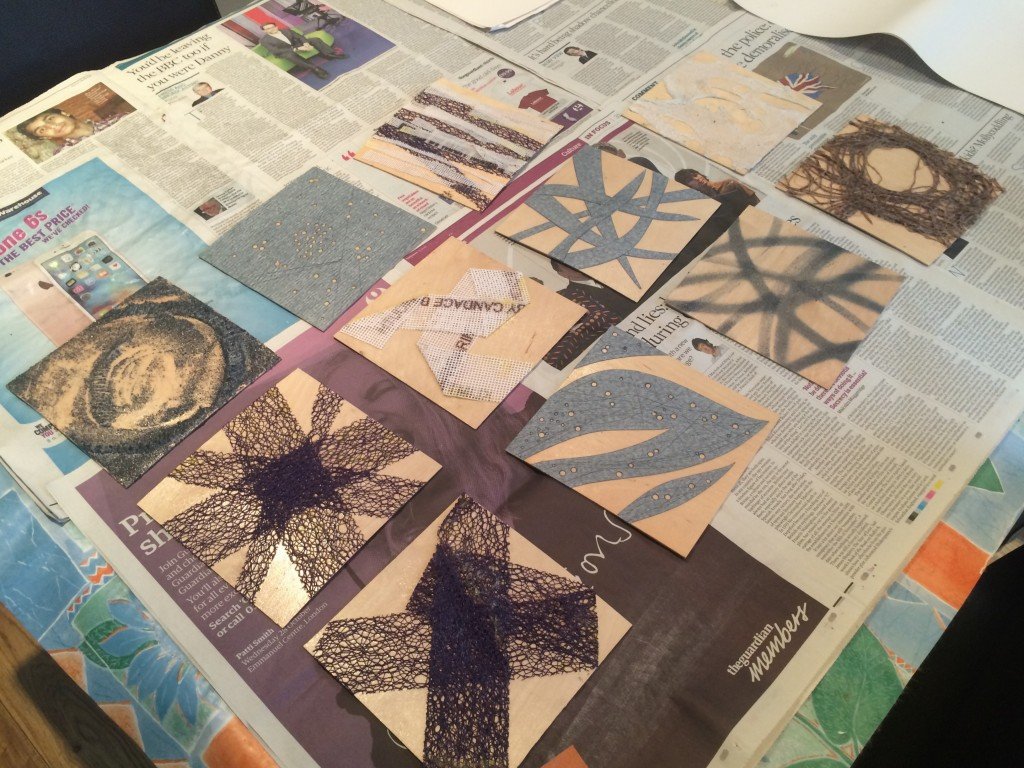
All eleven plates!
The next day, I finished the plates with more varnish layers, before placing each plate under a heavy weight. This helped to flatten out the plate surface and to make sure that all elements were firmly stuck.
Tomorrow, I’ll be off to the Print Room at the University of Lincoln for an entire day printing these plates. It’s been so long – I can’t wait!
Find all my posts about Art Printworks stories on Twitter at: #artprintstories
