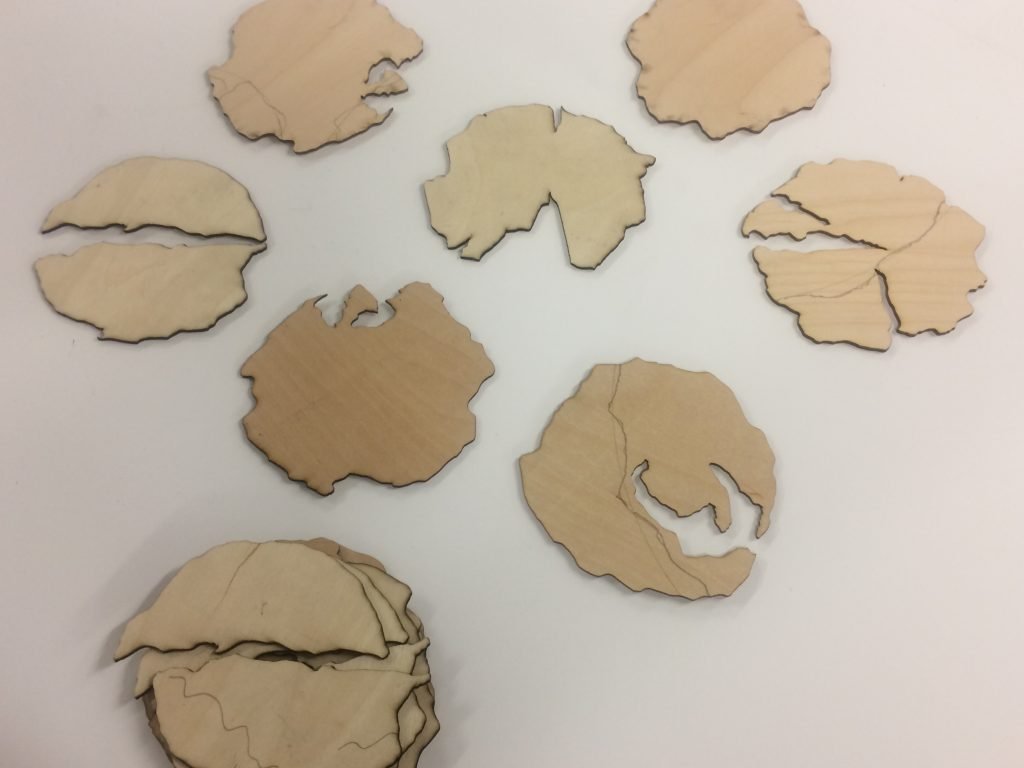
Working from the quick sketches shown in my last post, it was time to start making the plates.
Rather stupidly, my first attempt at cutting the shapes was to reach for a fold-out workbench and electric jigsaw. Quite how I was going to cut around such an intricate and detailed shape with such crude tools? In short, I wasn’t.
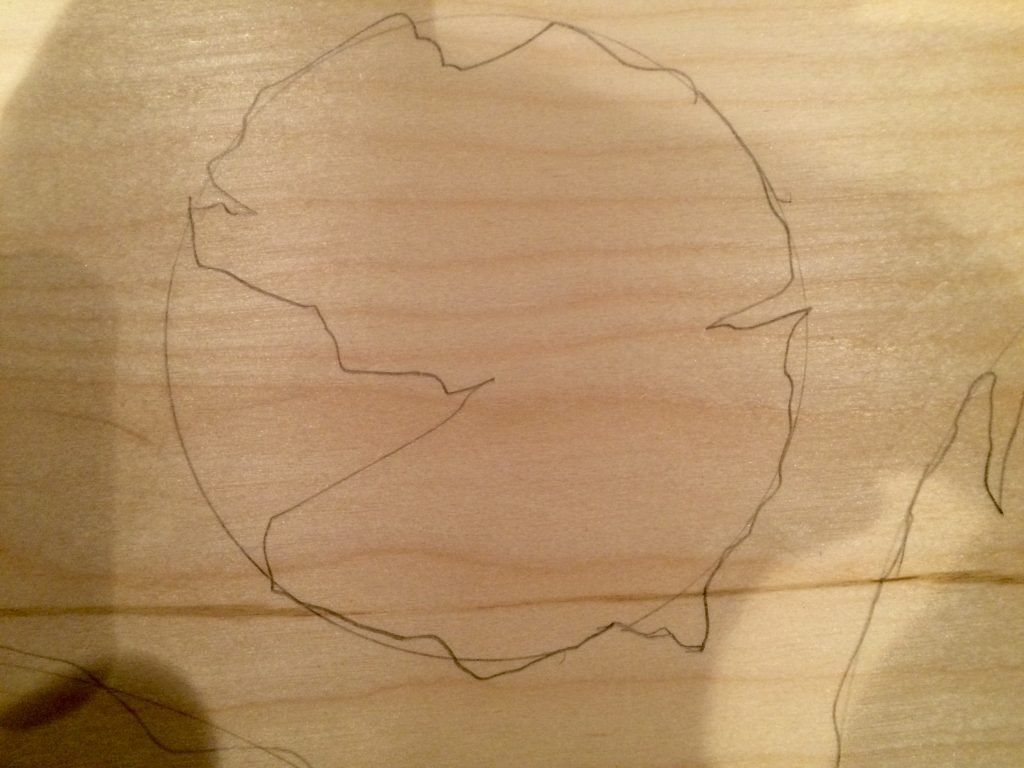
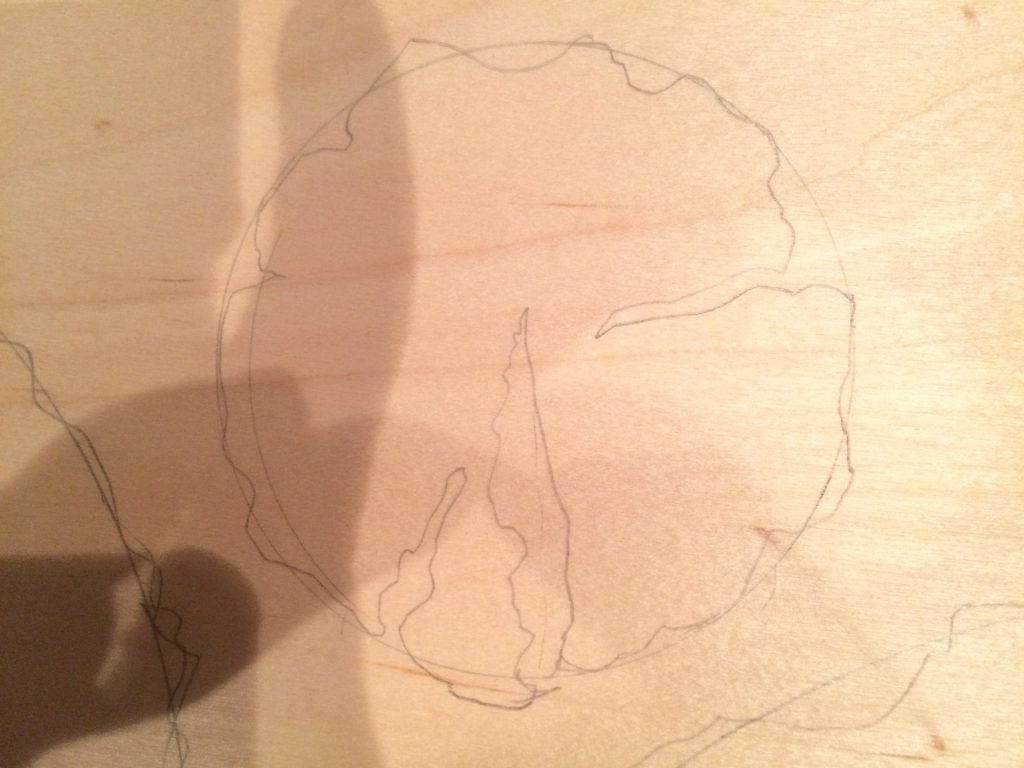
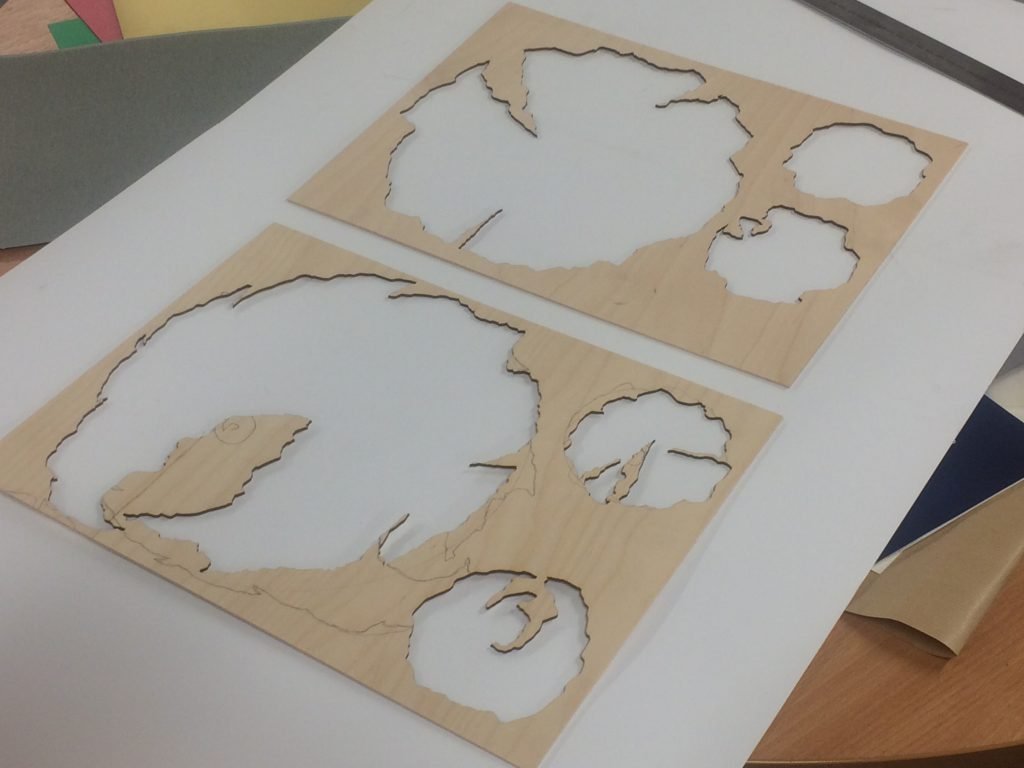
Of course, this was my fault for not planning the process correctly. So, it was time for a far more sensible approach; this meant waiting until my next trip to the University of Lincoln and using the laser cutting machine in the Maker Lab. To prepare, I took a photo of each of the outlines I had drawn onto the face of the birch plywood boards. I brought each one into my drawing software (Adobe Illustrator in this case) and carefully created a vector path drawing of the pencil line shape.

One of the large shapes, drawn directly onto the birch plywood board
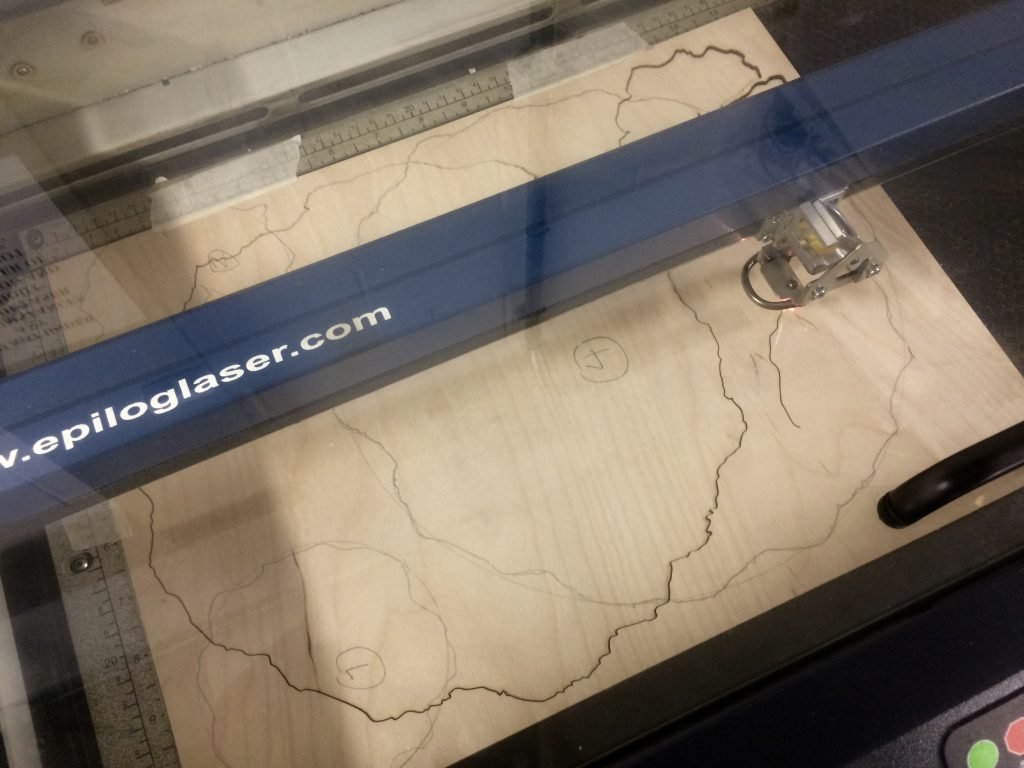
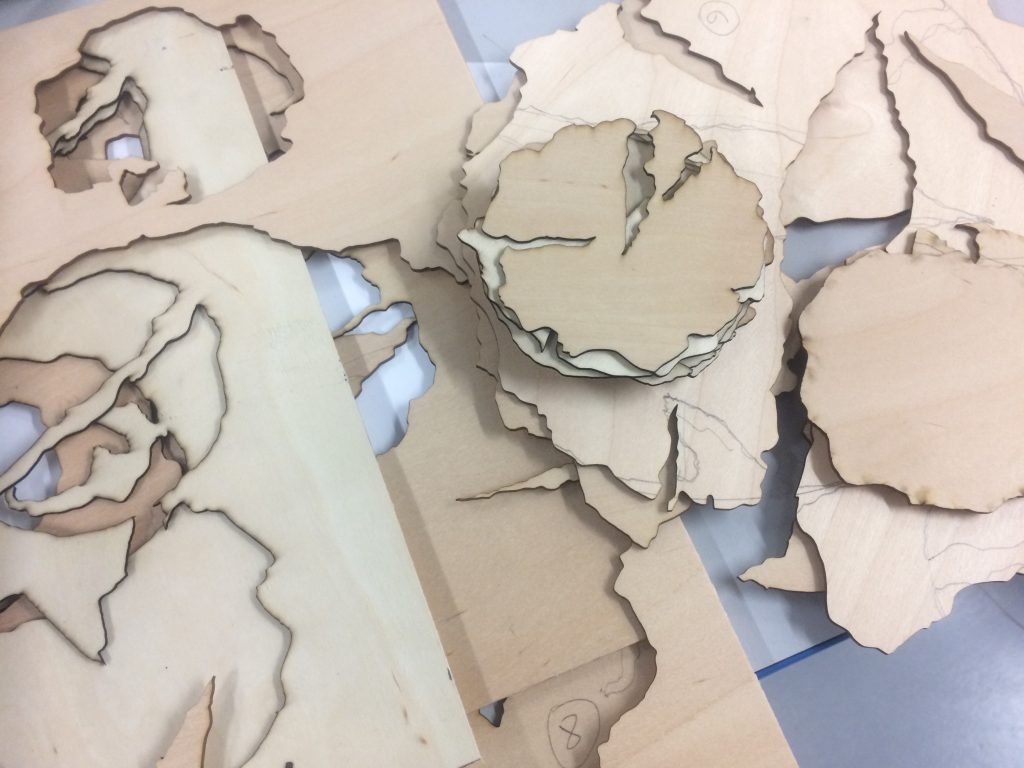
Then, the files were uploaded to a computer in the Maker Lab that was connected to the laser cutter. Once the settings had been correctly adjusted to the thickness of my plywood (around 1.5mm), the machine began using the thin line of the image file to accurately and swiftly cut my shapes from the board. The smaller shapes (100mm diameter) only took around 1.5 minutes to cut, whilst the larger ones (400mm diameter) took around 3-4 minutes.
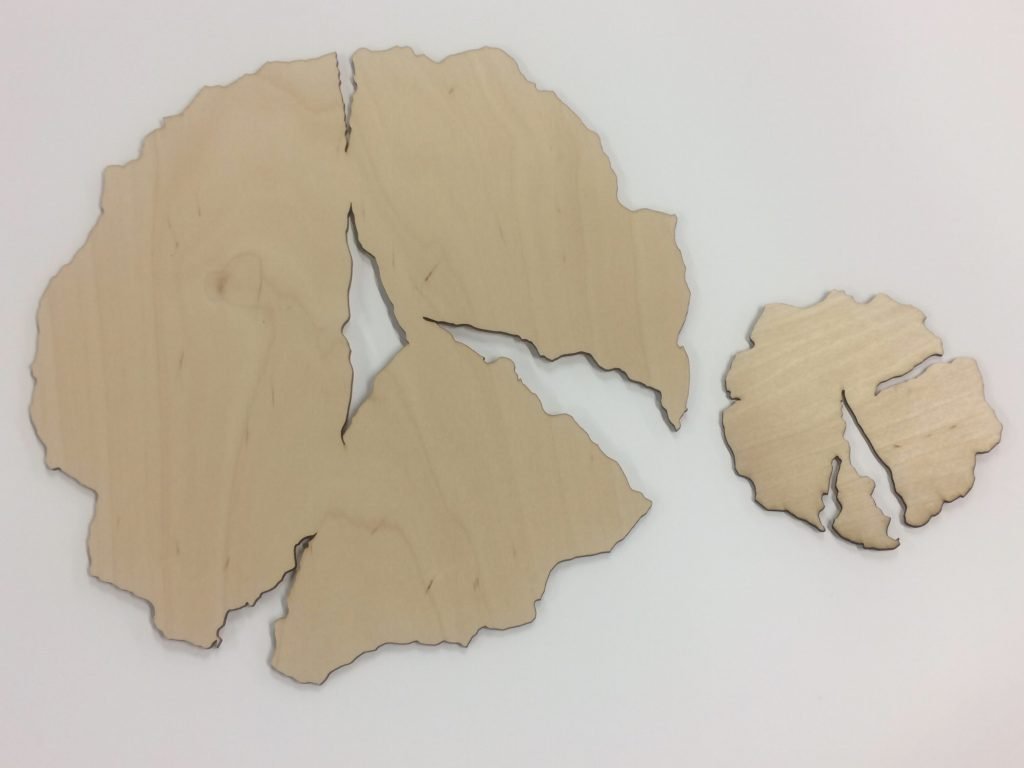
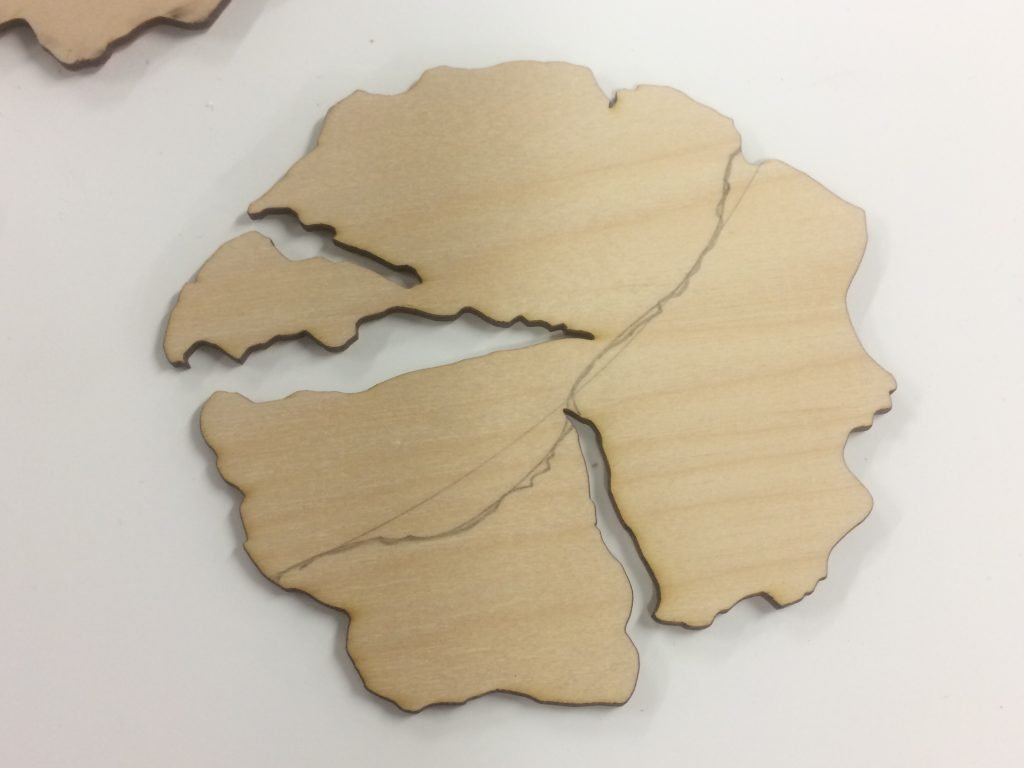
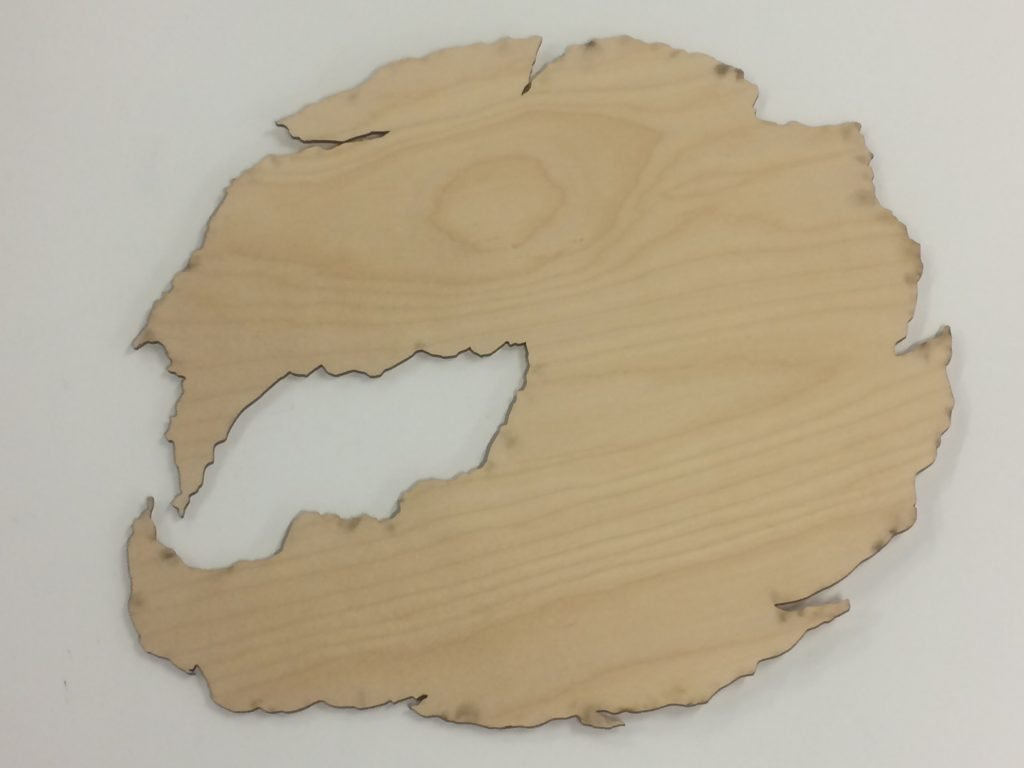
This process gave me some beautiful shapes to use as a bases to work into with the wide variety of surface materials and tools I mentioned in the first post.
Now, it’s time to reach for the varnish…
In the next post, I’ll show the textures applied to each plate.
Find all my posts about Art Printworks stories on Twitter at: #artprintstories
