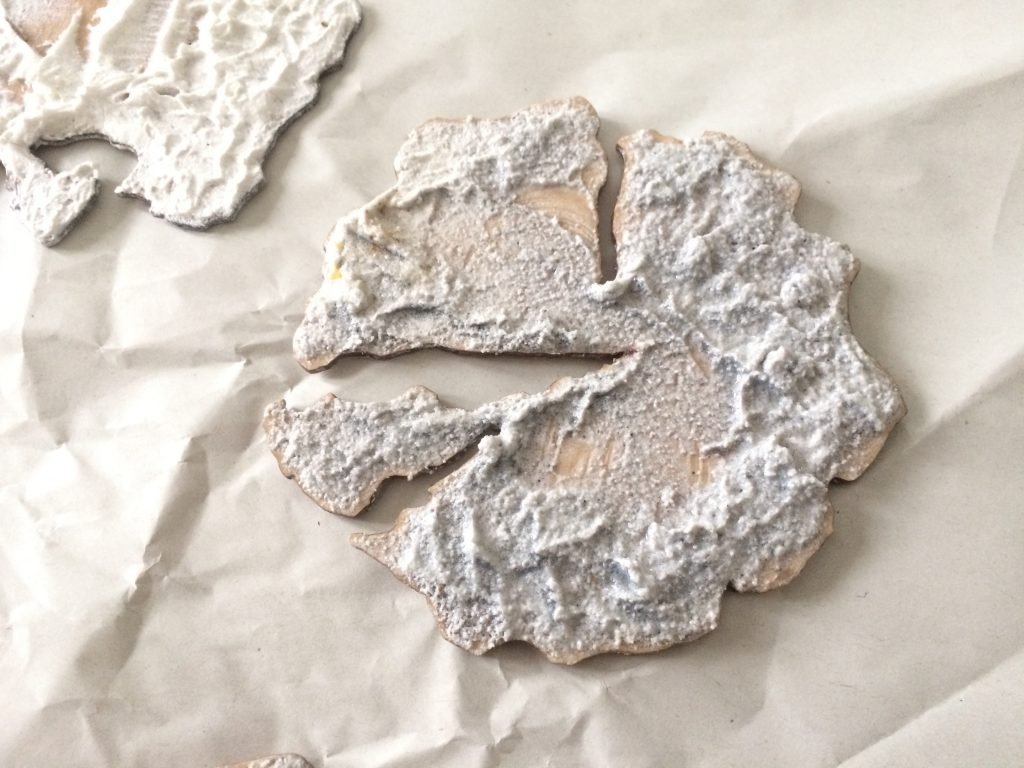
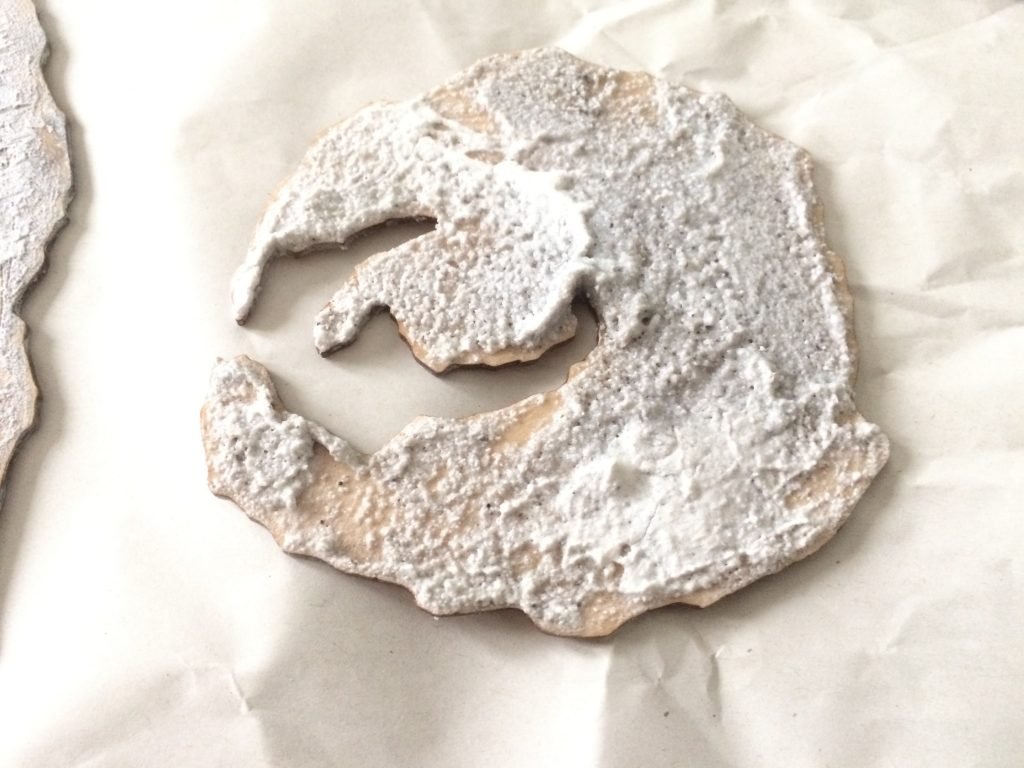
After cutting the basic shapes I needed, it was time for the exciting bit – adding the surface textures.
For this new series of prints, I had in mind the idea of creating some ‘imagined lands’; these abstracted shapes could represent aerial views of islands or other territories, but as they would not be based on real places, it would leave me free to experiment with different surface details. So this time, rather than reaching for my bags of fabric and other materials, I decided to limit the textures to lines and built up gels and pastes, perhaps representing differing degrees of solidity.

Crackle paste: produces surface cracks when applied in a thick layer

Some of the tools I use to apply, carve and smooth acrylic pastes and gels
Although I had original sketches to work to, I allowed the material and the board shape to dictate what kind of marks to make in the gels. In a way, making plates like this is as interesting and as much fun as producing nice prints. As I’ve said before, the art in my collagraph printmaking is very much a stage process – creating interesting plates and, hopefully, beautiful prints.
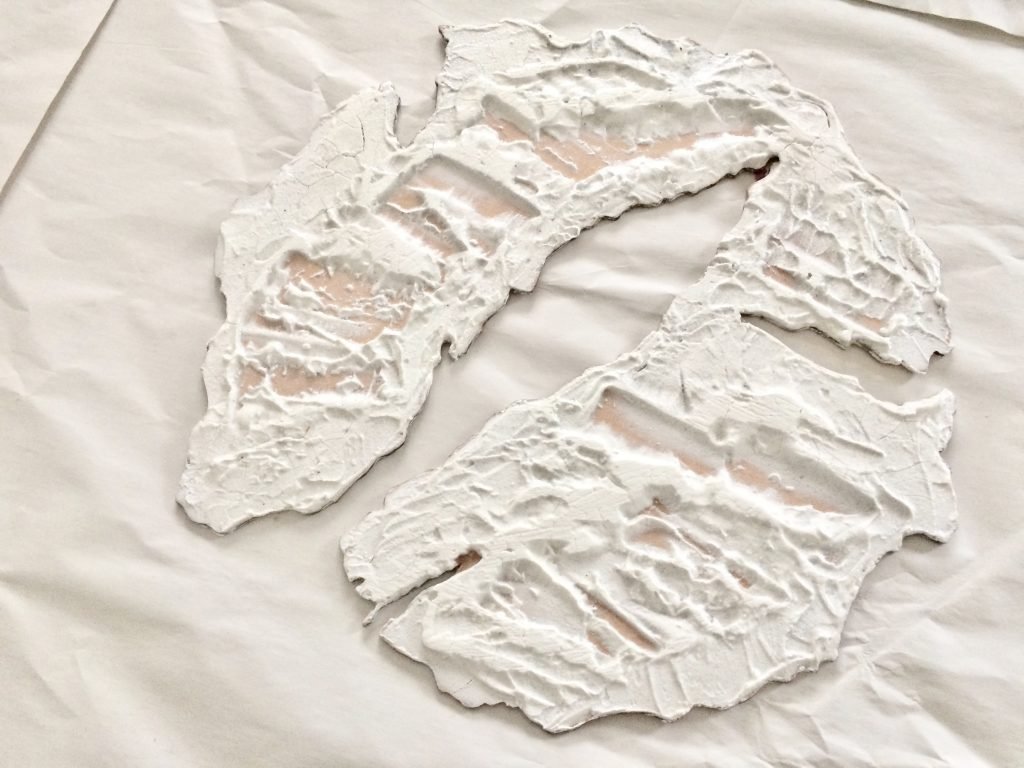
One plate, made entirely with crackle paste
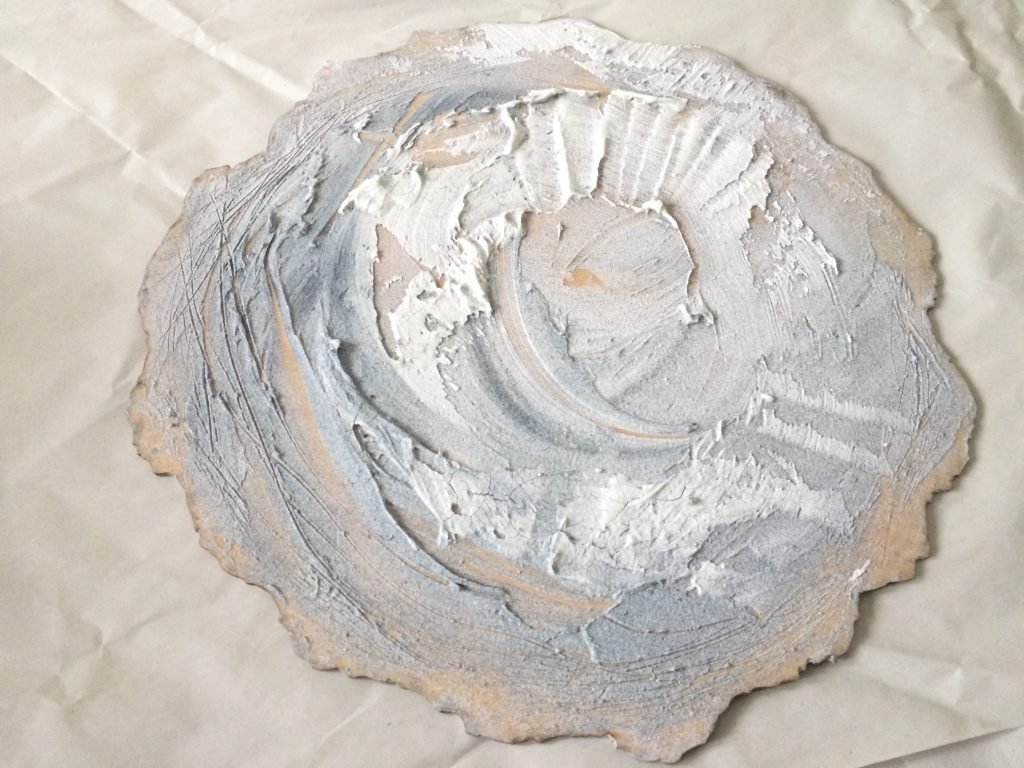
This plate was made with a mix of potash paste and crackle paste
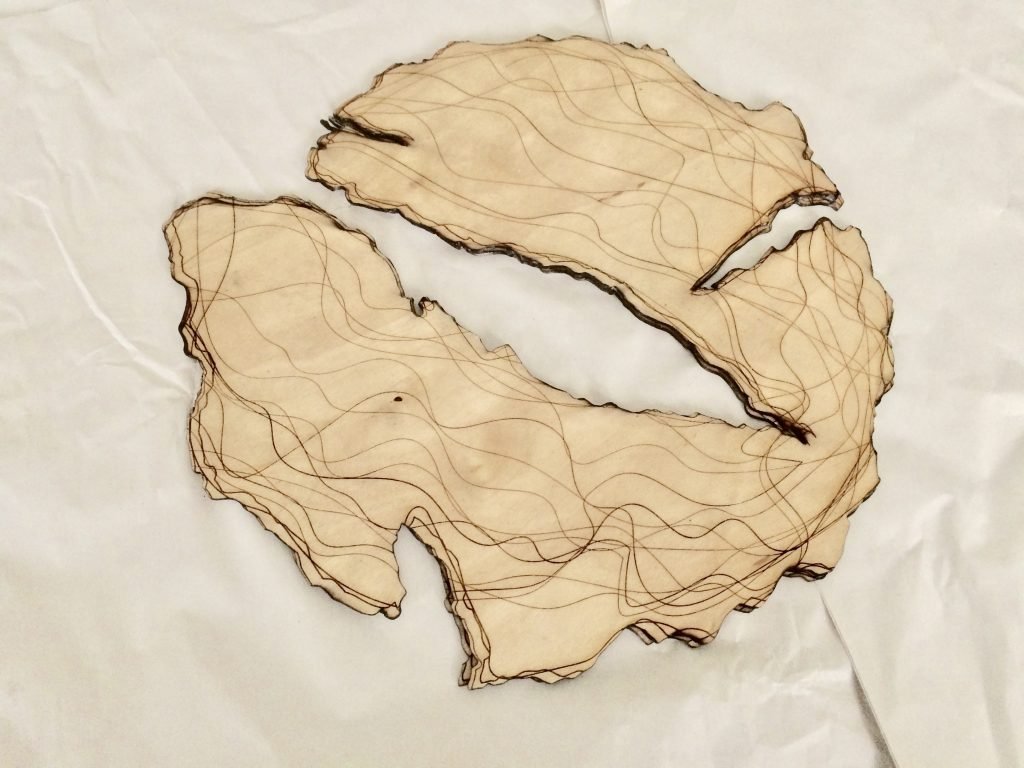
No pastes here, just lines etched into the plywood on the laser cutter
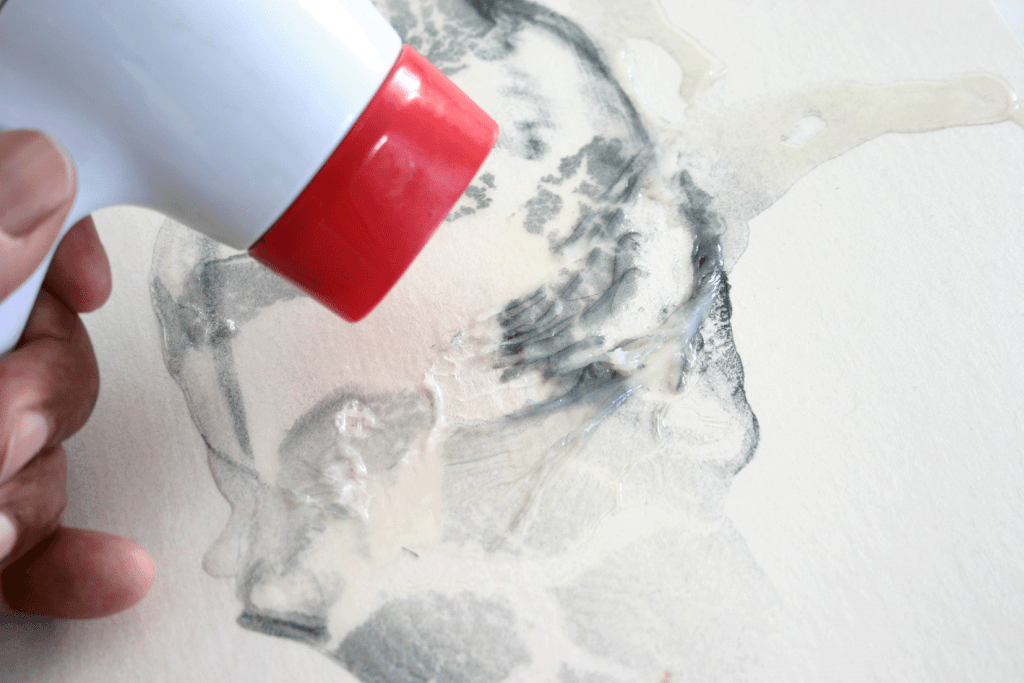
Remember this technique? Wet, poured varnish and carborundum, heated until it blisters and separates. I used the technique again to produce…
The nice thing about these shapes is that I will be able to move them around and combine them in different ways to produce a variety of different prints. It will be interesting to experiment with them all once they are properly varnish sealed and dried.
Find all my posts about Art Printworks stories on Twitter at: #artprintstories
