In the last ‘Garage Goodies’ post, I showed the first set of prints from a series of long and thin plates I’ve recently made. Yesterday, I travelled back up to The Ropewalk, Barton upon Humber, to take part in another print session with all the lovely people in the Print Room. It’s always really nice to see what people are up to there. Some are producing plates for etching, whilst others are busy working on sketch ideas. Others, including myself, use the sessions for printing pre-prepared plates made at home.
For me, the great thing about these sessions is the willingness shown by everyone to support and encourage all the printmakers. Although the Wednesday slot is not a taught session, we all learn something every time, guided by the experience and knowledge of Tim Needham. Even more important, in many ways, is the fact that we always have fun doing it.
I have always found that the quality of print obtained in a session improves over time. The plates tend to need to be inked and printed at least once in order for prints to reach their optimum level of tone and depth of colour. This can be a problem for me, because my plates can deteriorate quite rapidly under the pressure of going through the press. A typical yield from one of my mount board-based plates is no more than 10 good prints. However, having just switched to using Beech plywood for most of these ‘long and thin’ plates, they should last longer – perhaps 20 prints, if I’m lucky.
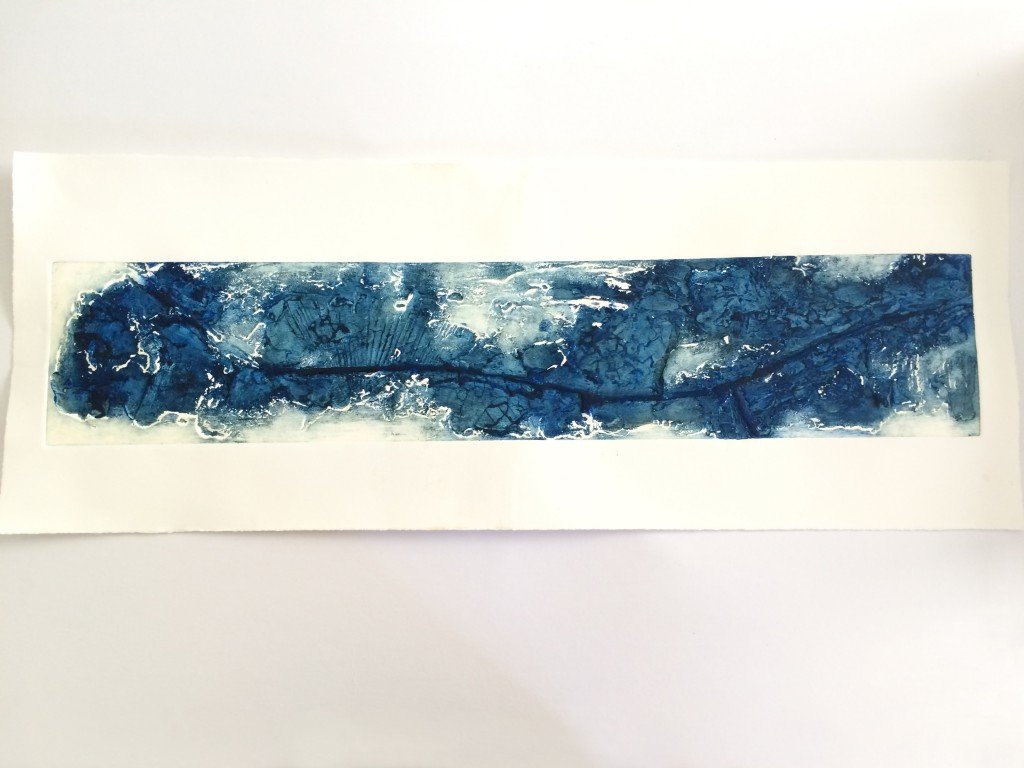
Print 1: full image
This one was a bit of a risk. Stupidly, I made the ridged contours too high for normal safe passage through the press (2mm is the normal limit). Printed in the normal way, with the press blankets in place, could well have caused serious damage to the blankets and even the press rollers. Luckily, Tim Needham helped out by suggesting a method we had used a while ago. We raised the press roller and removed the blankets entirely. Instead, we inserted a thick foam pad (around 5cm in height) and placed the plate and paper assembly beneath it. We then lightened the pressure considerably.
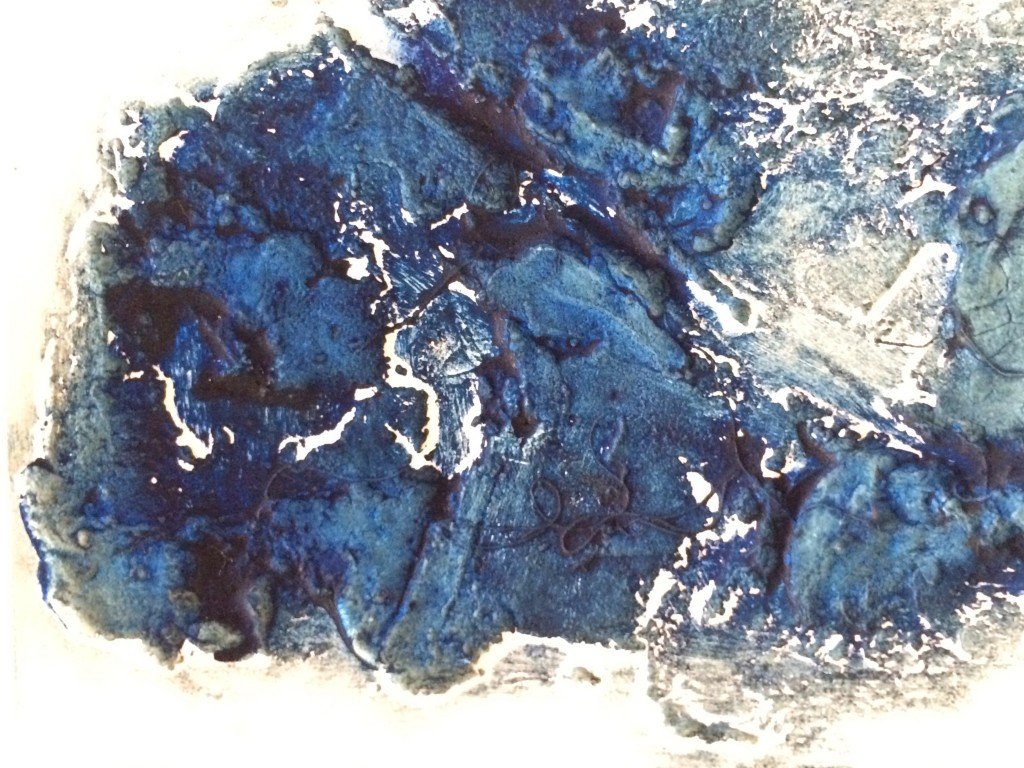
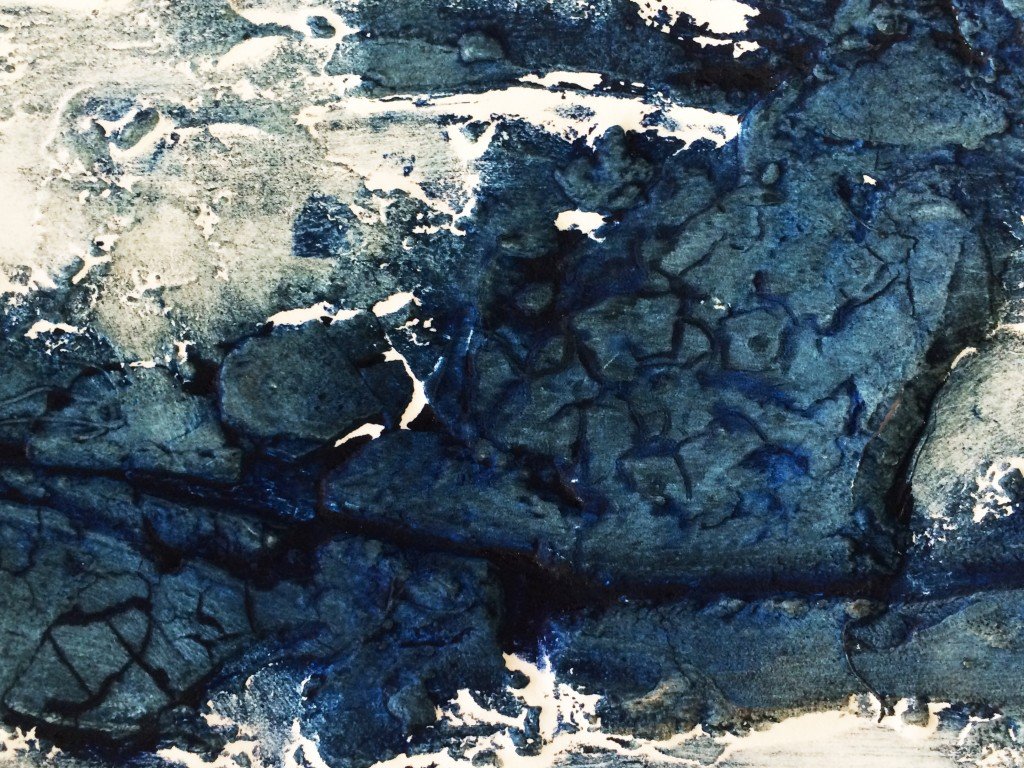
It worked a treat! As you can probably see, the impressions in the paper were very heavy and almost broke through it. Luckily though, they did not tear through and my print was intact.
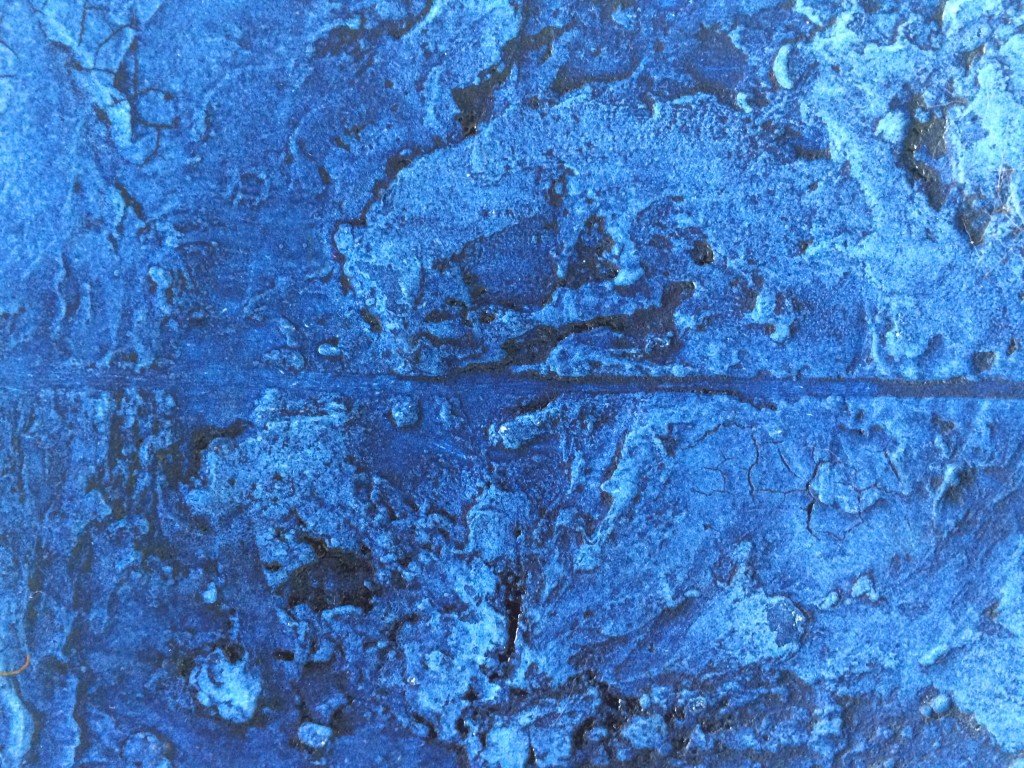
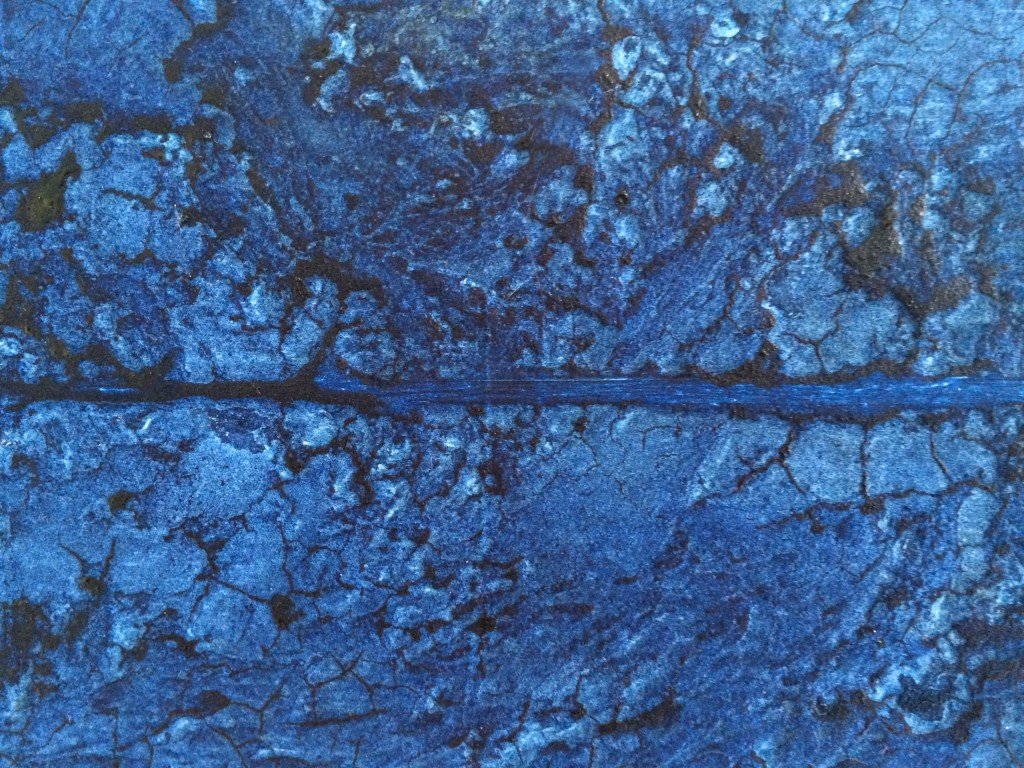
Print 1: close up
Print 1: close up
Print 1: close up
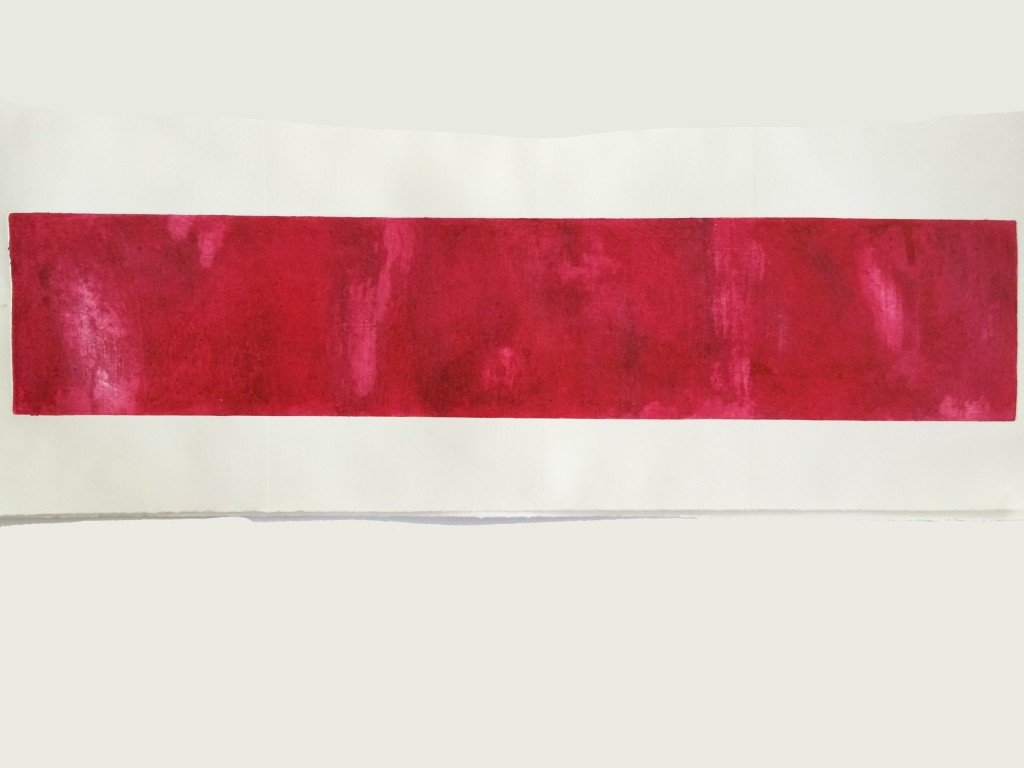
Print 2: full image
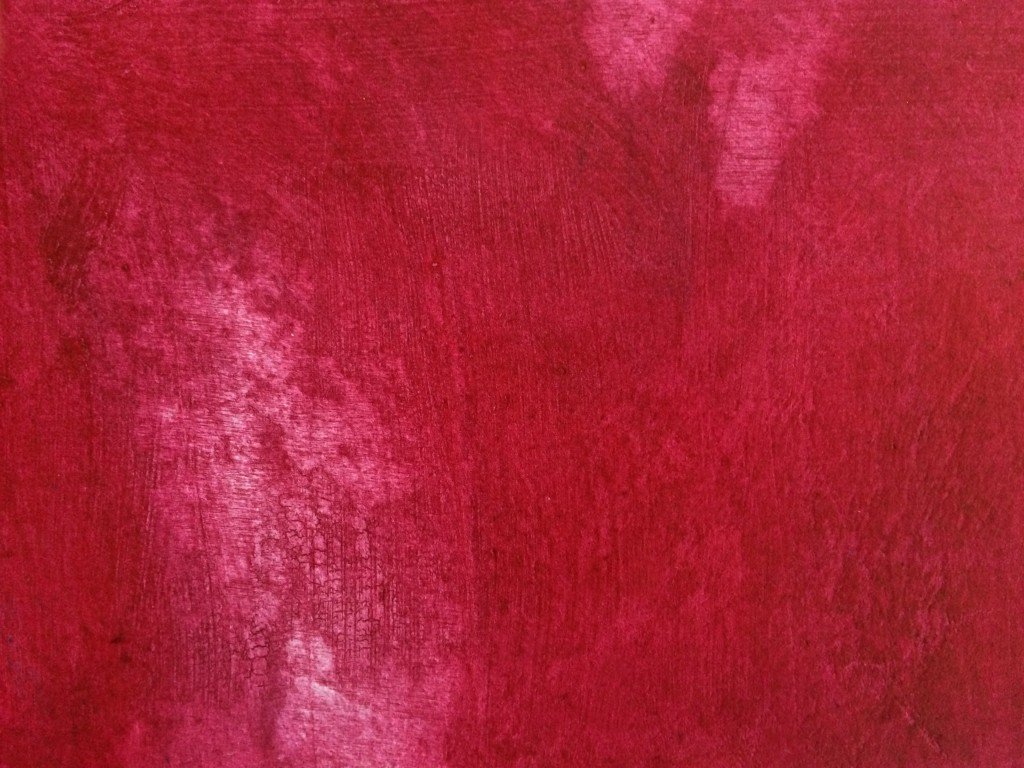
Print 2: close up
Print 2: close up
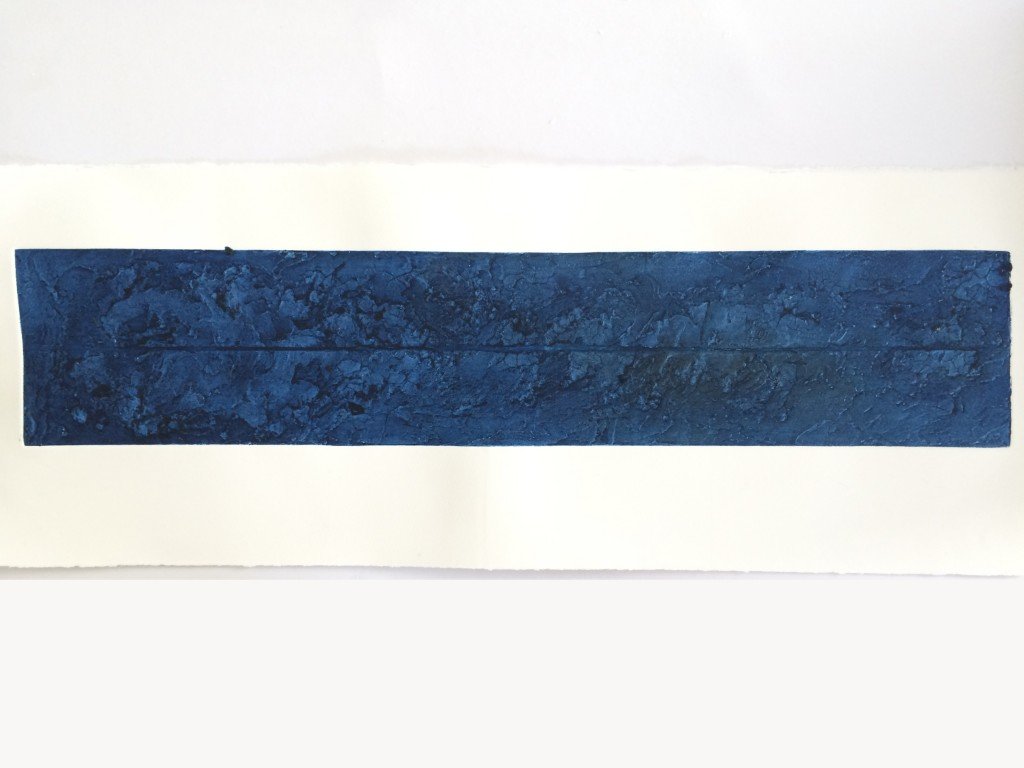
I prepared these plates with a gouged out channel somewhere in the image, with the intention of hand colouring some metallic ink, paint, gilding cream or perhaps even thread into it. Having seen how well the prints turned out though, particularly with the contrast between the channel tone and the rest of the image, I may well decide to leave them as they are.
Print 3: full image
Print 3: close up
There are still another few plates yet to be printed in this series, each with different textured materials. They should be fun to do.
Find all my posts about Art Printworks stories on Twitter at: #artprintstories

