Last year, I made a trip to Western Iceland. This fascinating country has all the attractions you might expect from a land so far north; spectacular glaciers, waterfalls, geysirs, the Blue Lagoon and a totally volcanic landscape – truly amazing.
As you might expect, I had lots of photographs to act as inspiration. However, initial attempts at figurative landscape imagery in print were a little dull and didn’t print well, so I left Iceland behind for quite a while. In the last few weeks though, I’ve returned to those photos with a different perspective, using an abstract approach as a response to the shapes, jagged rock patterns and cold beauty of the Icelandic countryside. After a lot of experimentation and the re-making of plates, this mindset is starting to yield some interesting results in my prints.

Some of the new Iceland plates
Plates in the set (above) are intended to be used in different combinations. My usual thin birch plywood is used as the plate material. The basic shapes were cut with a Stanley knife. Marks were scored into the surface with the knife, holes drilled into the first layer of ply, and the edge of the knife used to carefully tease the layers of ply apart, revealing the darker, rough surface of the middle layer. Pliers were used to tear some edges of the shapes.
Once the plate shapes were done, I sealed them with quick-drying varnish. I then dripped more varnish down the lengths of wood before sprinkling carborundum on top. Later, I dusted the surplus away with a brush, leaving the carborundum that had adhered to the dripped varnish.

Covering the plates in carborundum
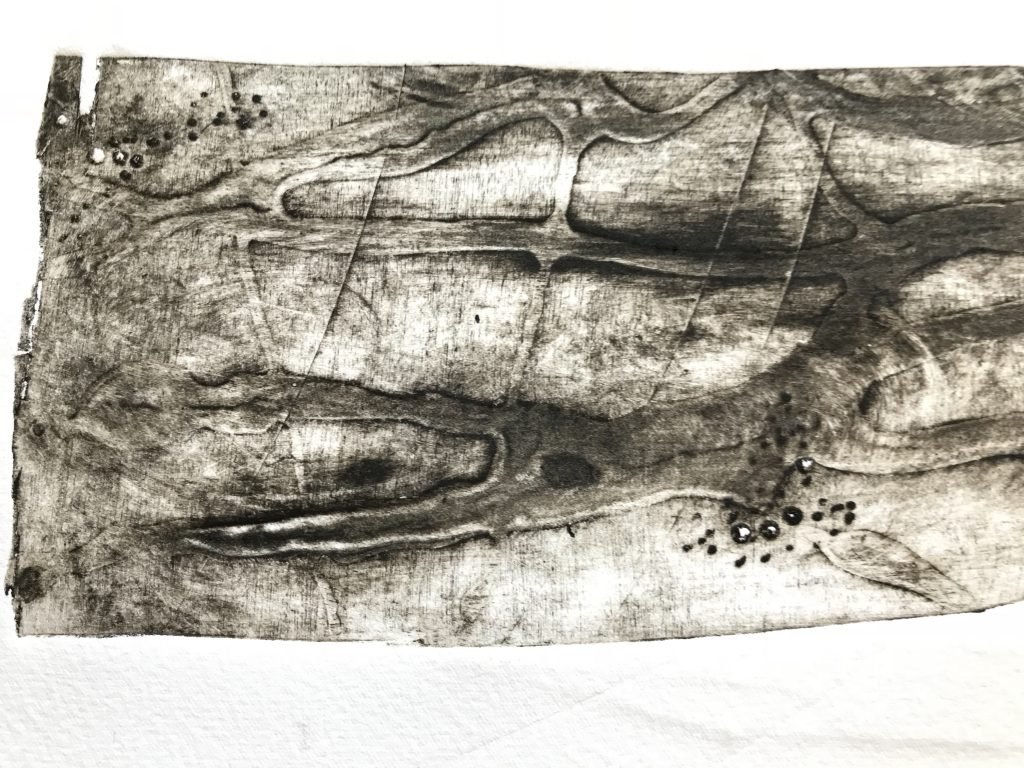
Once the plate shapes were done, I sealed them with quick-drying varnish. I then dripped more varnish down the lengths of wood before sprinkling carborundum on top. Later, I dusted the surplus away with a brush, leaving the carborundum that had adhered to the dripped varnish (above). The initial test prints (details below) were encouraging, and included the happy accident of the lovely embossing in the background, caused by being a little mean and choosing to use the reverse of a previous test print. But the prints lacked a little in definition and contrast for me, so I decided to add another layer of detail and stronger tone on top of the existing plates.


This time, I sprinkled a thin layer of carborundum over lightly sprayed glue. After this had dried, I coated the whole plate in matt varnish. Once dried, I finally dripped more varnish lines on top, but this time using gloss. This trapped the original detail (below) and allowed the gloss lines to stand out against the matt-treated background. The extra varnish layer also made the plates less susceptible to sticking to the paper on press – a welcome added bonus.

Detail of one of the new finished plates

Test prints made on my XCut XPress

In the test prints above, you can see that that the images have much more intensity, contrast and tonal variation. I can alter these further in the inking process for each print. In the last week, I have taken some initial full sized prints from different combinations of the plates. These prints were done on the large Bailey etching press at the University of Lincoln – I’ll show these in my next post.
Find all my posts about my print stories on Twitter at: #artprintstories
