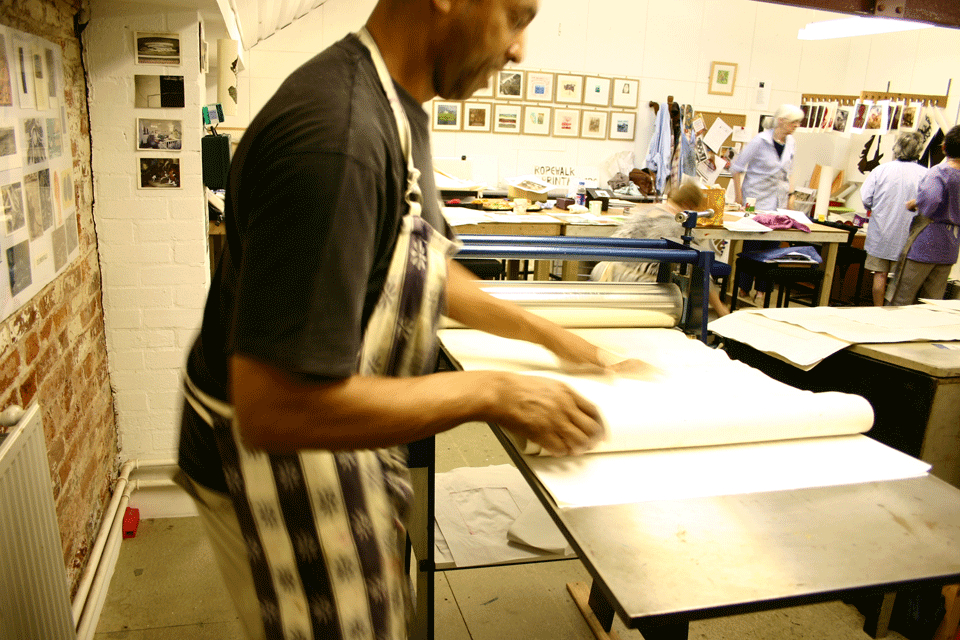
Yesterday, I took the prepared plates shown in the previous post along to The Ropewalk to print.
As always, a lovely group of 8 people were there to continue to work on plates begun at home or at the previous session in the Print Room. Others, including myself, had plates ready to be inked and printed. Although I create my printing plates using the collagraph technique, most people make etchings of various kinds.
Preparing to print
For the plates to be printed in this session, my previous experience of producing the prints Geometry I and Geometry II would be invaluable. I knew that I had to get a fairly light but even covering of ink on these carborundum-based plates to get a good print. This is sometimes difficult to do, as I am adding dark burnt umber ink to a dark surface, so it’s quite hard to see exactly how much ink I’m adding.
Inking the plate
In my previous post, I showed lengths of cotton, PVA lines and talcum powder details being added to the plate. Above, you can see short lengths of cotton thread on the inked plate. Once an initial ink coverage has been applied, the most important thing is to then wipe the plate gently with scrim to allow these details to come through. If this is not done, I’ll just get a flat and even-toned print, which is much less interesting.
Now that the plate has been inked, I prepare the paper. After cutting the paper to a size that’s larger than my print area, it’s ready to be soaked. I detailed this process in describing how my ‘Lincolnshire Coast’ series was printed. I then rub the moisture away by pressing with the hands on top of the blotting paper through a clean sheet of spare paper (above). The paper is then ready for printing.
First, the plate is placed on the flat metal ‘bed’ of the press, with the printing paper on top. Over this, protective sheets of paper are placed to help protect the printing paper and plate from the pressure of the rollers.

Lastly, layers of wool ‘blankets’ are laid over the plate/paper assembly. The blankets protect the surface of the steel press rollers from the pressure of being forced against the press bed.
Once all the roller pressure has been set (using the two handles on the top of the press) and the protective coverings are in place, the whole assembly is wound through the press. Then, the coverings are peeled back to reveal the print…
…which I was really pleased with!
The other plates were also printed during this three-hour session, and also turned out well. You can see couple of them hanging up on the drying rack.
I hope you liked this ‘Print Story’. I’ll do more of them as I think of ideas for new prints. Please comment below, or Tweet on my Twitter page, at twitter.com/sinclairashman or at #artprintstories
Many thanks to Tim Needham, The Ropewalk and the other group printmakers for allowing me to take these pictures.
Find all my posts about Art Printworks stories on Twitter at: #artprintstories


