
It’s been a while since my last post. I’ve just been incredibly busy in my ‘day job’ – design consultancy work for clients and teaching in Lincoln. The break has been positive though, as I’ve been able to return to printmaking with a clear mind – ready to continue with experiments in texture and form. This time though, I’m going to try to do this through investigating techniques I have tried before, such as heating wet varnish and carborundum and varnish/household filler combinations. The difference will be in trying to coax the materials into simpler shapes and darker forms that cover a larger area of the printed paper. Hopefully, the effects will be starker and more dramatic.
I tend to make several collagraph printing plates in one session, over one or two days, allowing for drying time. This allows me to concentrate on one theme or type of medium, before moving on to another. Although I may plan to make plates of a certain size, or by a particular method, no planning or sketching takes place. I pour varnishes, cut or flake dry materials, puncture the board surface etc. to build an image. Rarely, if ever, do I reject a plate (by not printing it, to throwing it away). This is because I almost believe that the plate ‘wanted’ to turn out that way – I just happened to be there, allowing it to happen.
Below, I’ve shown how the current series of plates were made, over the course of two days. Four square plates used punched holes of various sizes, whilst a further series returned to a previous technique of heating poured varnish and carborundum power, using a hair dryer.

Cutting the plates to size, using standard mount board
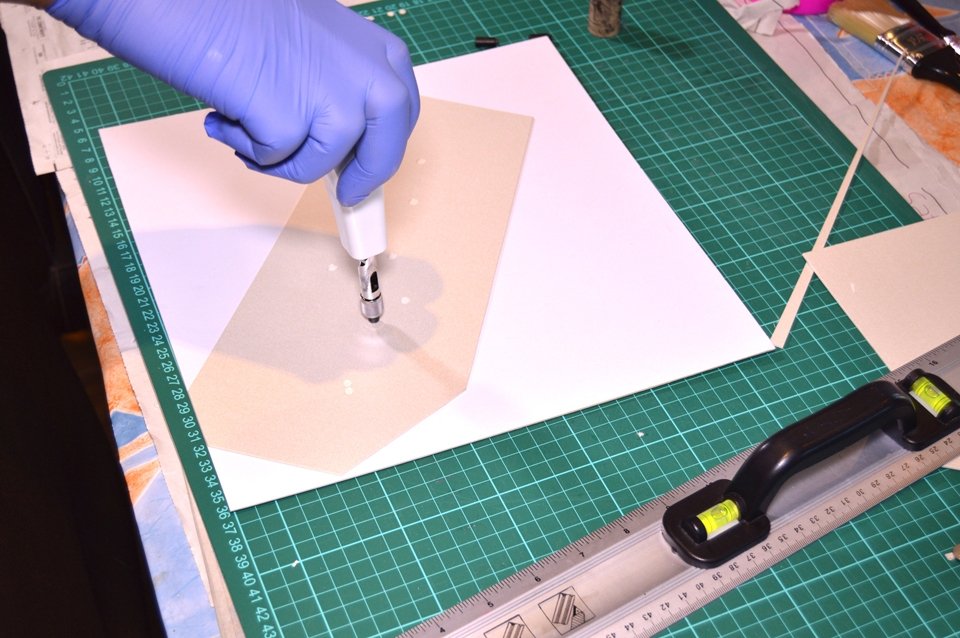
Using a special hole cutter. This one was bought from The Range
The plate above shows how I’m using holes which, once inked, should allow ink to collect and form dark circles. There are also fine cut lines that have been made with a sharp scalpel. These too should collect ink when the plate is prepared for print.

This one (above) was made using crackle paste, sprinkled with carborundum powder. plate above shows how I’m using holes which, once inked, should allow ink to collect and form dark circles. There are also fine cut lines that have been made with a sharp scalpel. These too should collect ink when the plate is prepared for print.
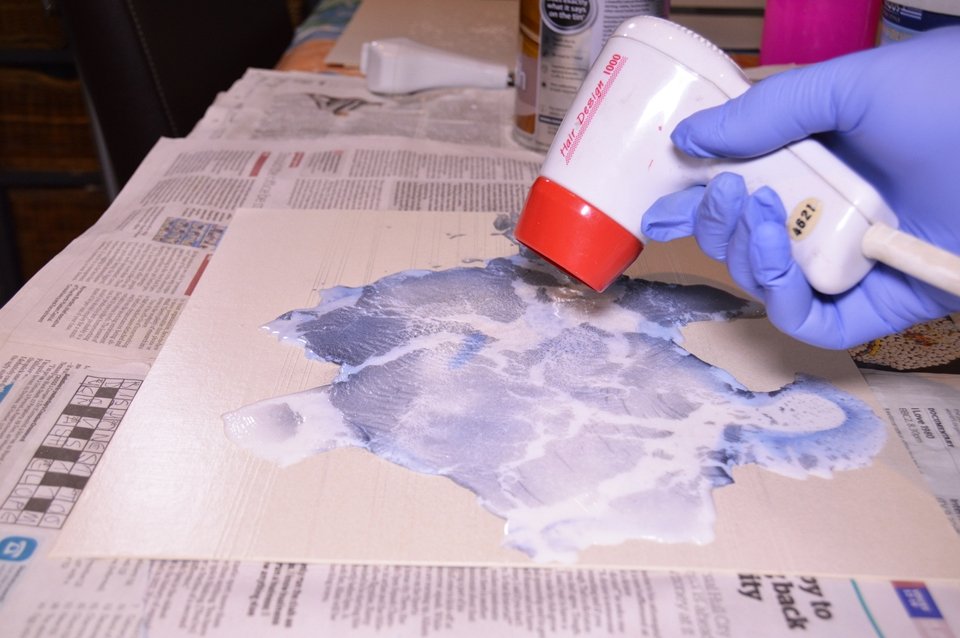 Above, poured varnish and carborundum powder being heated with a hair dryer
Direct heating of the varnish and powder mixture forces it to split and separate, leaving smoother areas – which will eventually print lighter or with no tone – and darker, powder-filled areas, which will print darker in varying degrees.
 One of the plates, almost finished
In two weeks, I’ll take the plates along to The Ropewalk for my first print session since November. It’ll be good to see the Print Room regulars again and, of course, to see how these latest plates turn out.
I’ll post again after that point to show the prints.
Find all my posts about Art Printworks stories on Twitter at: #artprintstories