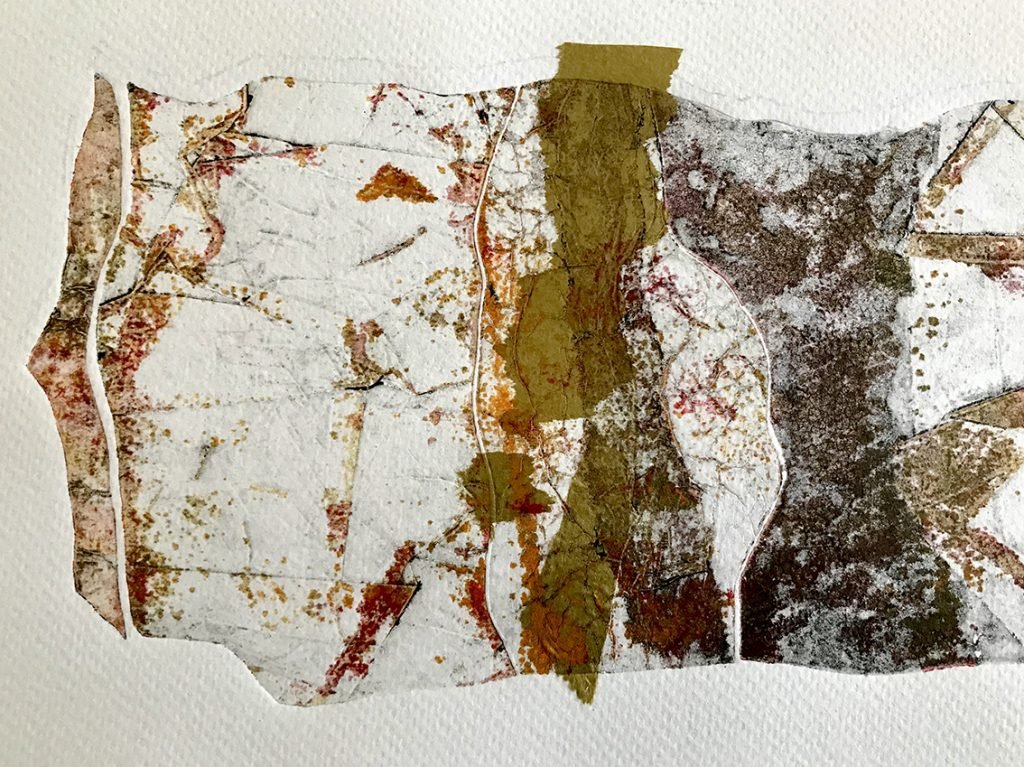
Alongside all of the interesting conversations on printmaking I had with tutors and fellow printmakers on my USA residency, perhaps the most important thing to come out of the visit was a book. Chris Shore, the Master Printer at the Center for Contemporary Printmaking, had a copy and recommended it to me. It is ‘The Complete Collagraph’, by Clare Romano and John Ross. It is the best, most comprehensive publication on the creative and technical aspects of printmaking I have ever seen. Unfortunately, it was (and still is) out of print, but I took a chance on a Google search and found that a second-hand copy was available on an American art book website.
The book details a wide variety of plate-making materials and techniques in a systematic way, before diving into details of various ways to print in monochrome and multi-plate colour. It also features prints by the authors, with descriptions of the methods used. I have been referring to it constantly over the last 3-4 months, over which time it has enabled me to produce sturdier printing plates and better quality prints, employing an ever widening range of materials. One of the most useful suggestions in the book is in the use of gesso as a general sealer and adhesive. Gesso also provides a useful ‘tooth’ for the plate surface, and assists in bringing all the plate elements to an even height – an important factor in producing successful prints.
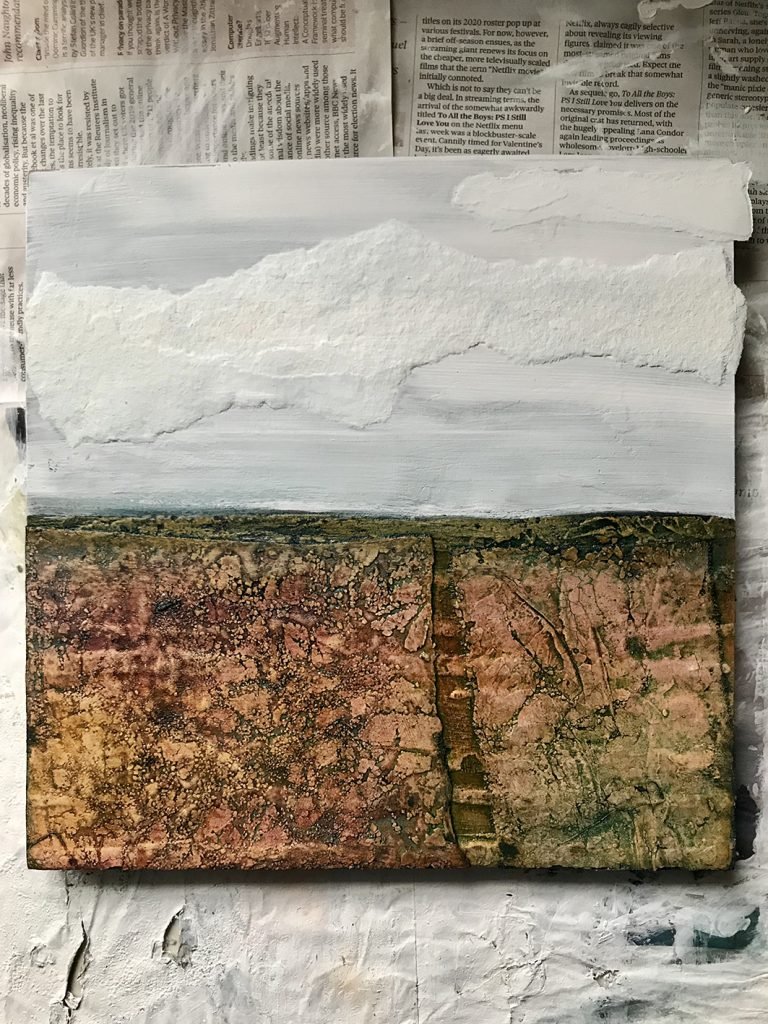
Below are some plates and prints that feature some of the things I have learned from the book.
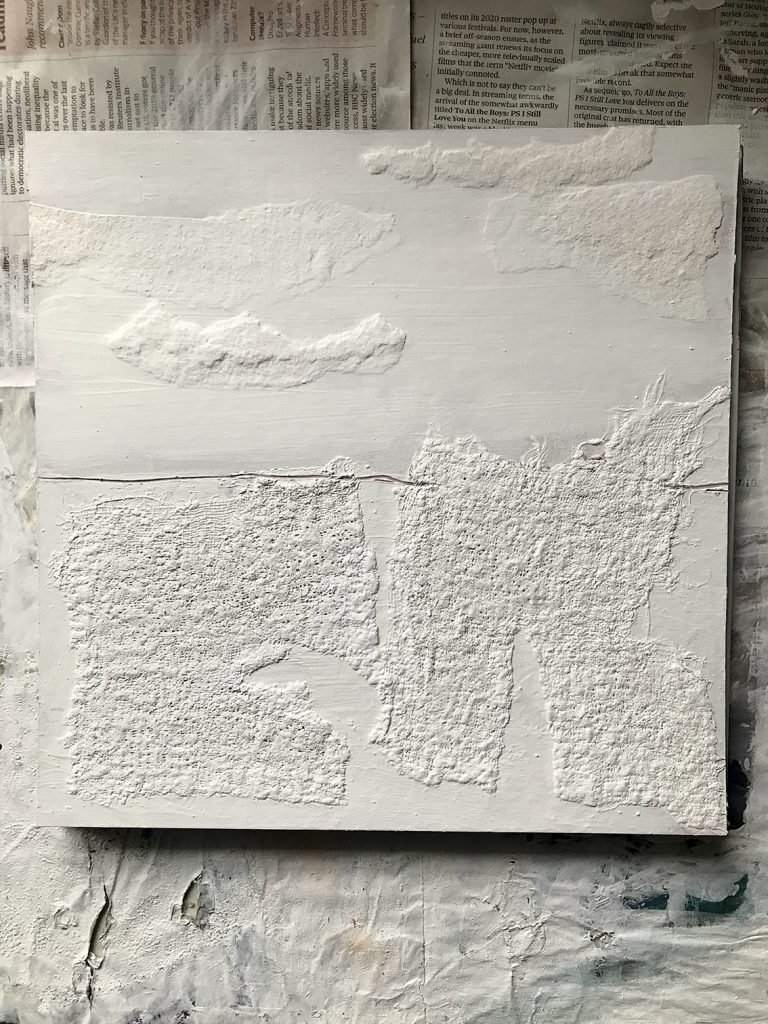
Gesso rocks!
The plate above was originally sealed with my usual sealer, acrylic varnish. Using gesso instead integrates the plate elements together, making the plate stronger and more resilient. Here, I have also used torn pieces of mount board , glued in with gesso, to replace the clouds in the sky, which printed poorly in previous tests. The print is below.
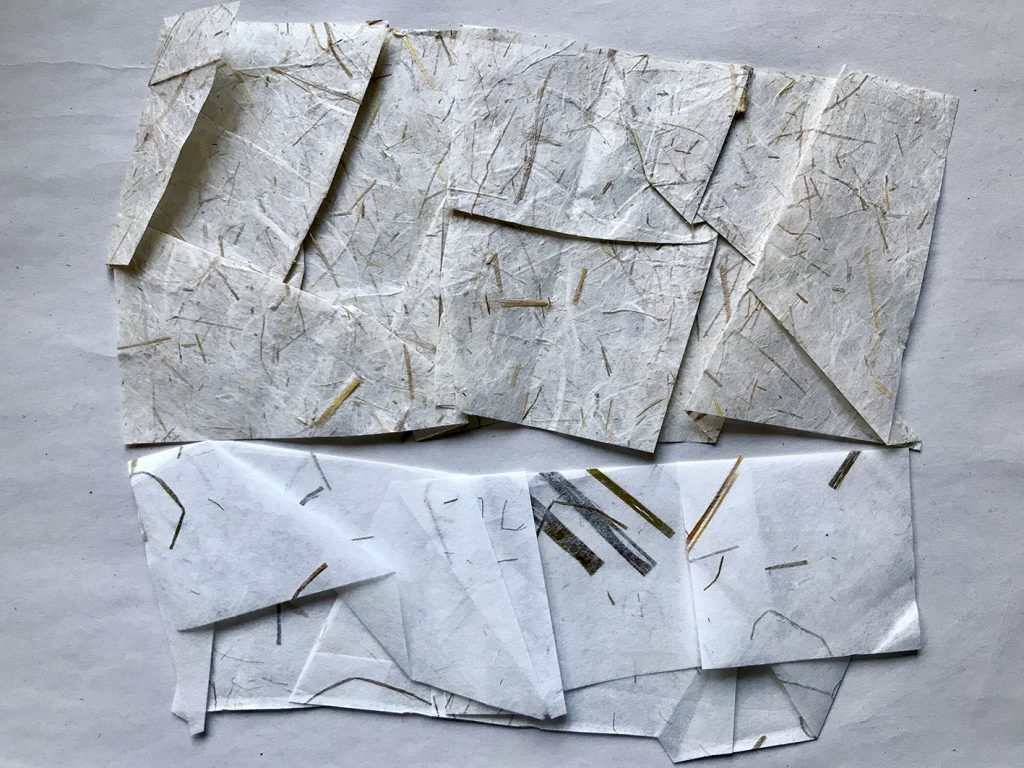
Origami for plates
Another useful idea from the book, is in the use of folded and creased paper to create dramatic tones. Ordinary printer papers, or thinner, uncoated stocks (often used as packaging filler) are ideal for this.
After creasing, the paper should be flattened under a few heavy books, before pasting into position on the plate with a brush, using plenty of gesso. As welll as securely glueing the paper to the base board, it is important to force the gesso into every crease and crevice, to make sure that there are no air pockets. If these persist after sealing, they will trap ink which will ooze out and ruin the print.
In the next section, I describe how I use these elements in a ‘segmented plate’.

Above: the flattened paper coated with gesso
Segmented plates
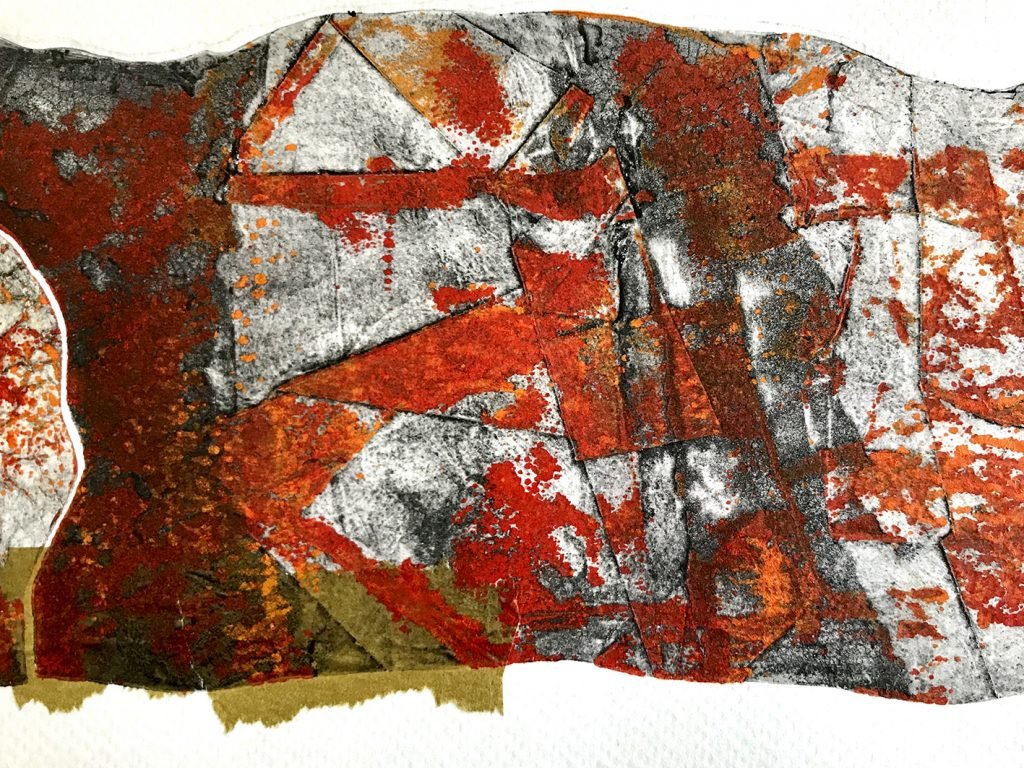
Another important technique I got from the book was a method for accurately combining and registering multiple plates together, to be printed in one pass through the press – segmented plate printing. Although I had produced prints in the past using multiple plates, the plates were deliberately set apart using even gaps. The method described by Romano and Ross shows how each individual plate is cut from one piece of mountboard and inked separately before being fitted back into the jigsaw-like arrangement and printed.
As a test piece, I cut an abstract shape from mountboard and set about cutting segments from it. This was easily done with a sharp Stanley knife. I then worked different materials into each piece, being careful to cut the excess away from the edges to try and ensure a good fit once they were dried and coated with shellac.

Above: one of the plate segments coated with shellac
After the textures on the pieces were created and coated with shellac, they fitted together very well. At this point, I mapped their positions on tracing paper, along with the position of the printing paper. This would enable me to place each inked section and the printing paper accurately onto the press bed.

Above: separate, inked plates assembled on the press, ready to print
The paper for the final prints had gold paper glued to the surface, prior to running through the press with the printing plates.
Find all my posts about my print stories on Twitter at: #artprintstories


