



Print Stories: Liquid and powder 1
Sometimes, I use print sessions at The Ropewalk to new versions of plates that have been printed before, in an attempt to improve the quality of the print in some way, or to try different inks. This time though, I want to use some spare time to prepare completely new plates.
This series is a continuation of an earlier experiment with unusually-shaped plates and carborundum powder. That work led to the prints Geometry I and Geometry II.
Like the Geometry series, these new plates use a background of carborundum powder. This fine but gritty surface will hold the ink and eventually print dark. On top of this, I’ll use smoother materials to try to introduce a few selected lighter details. However, I don’t want too many highlights to print – overall, I want a dark and moody feeling to come through in the prints.
Making the plates
For this one, I used a set square to cut the basic square. Then, as you can see below, I cut wedges out of the edges to create interesting shapes. There was no set plan in mind – I just kept cutting out shapes of different sizes around the perimeter, until it looked interesting.

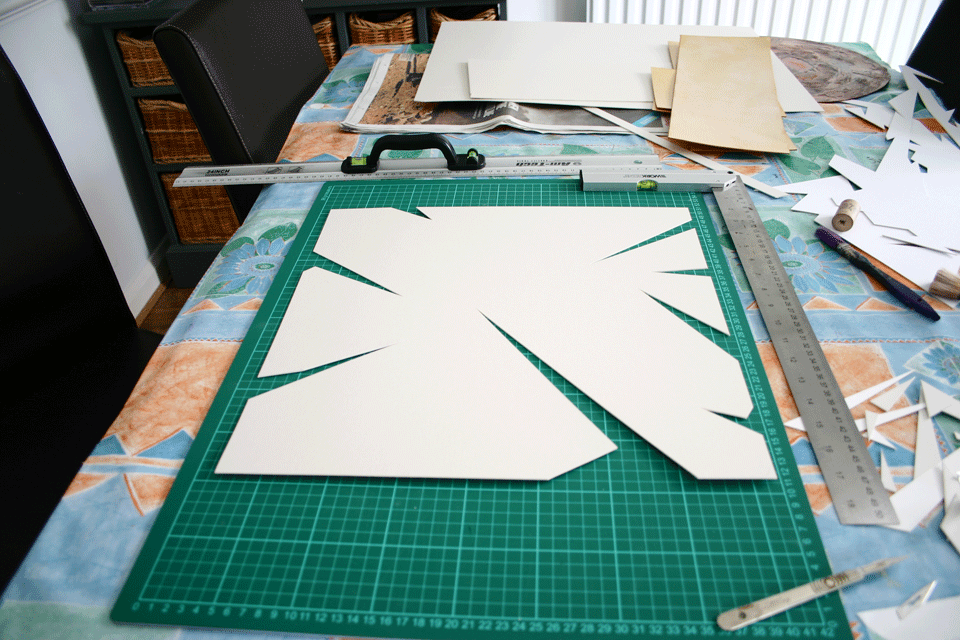
Other plates (four in total) were also cut. I often create a few plates at a time, to make the plate-making sessions as efficient as possible. I always take all new plates along to a print session, but because it takes a while to ink and print a plate, I often run out of time before I have printed all the prepared plates. However, it’s good to have a pipeline of plates to print, so there’s always something new to try and print in the next session.

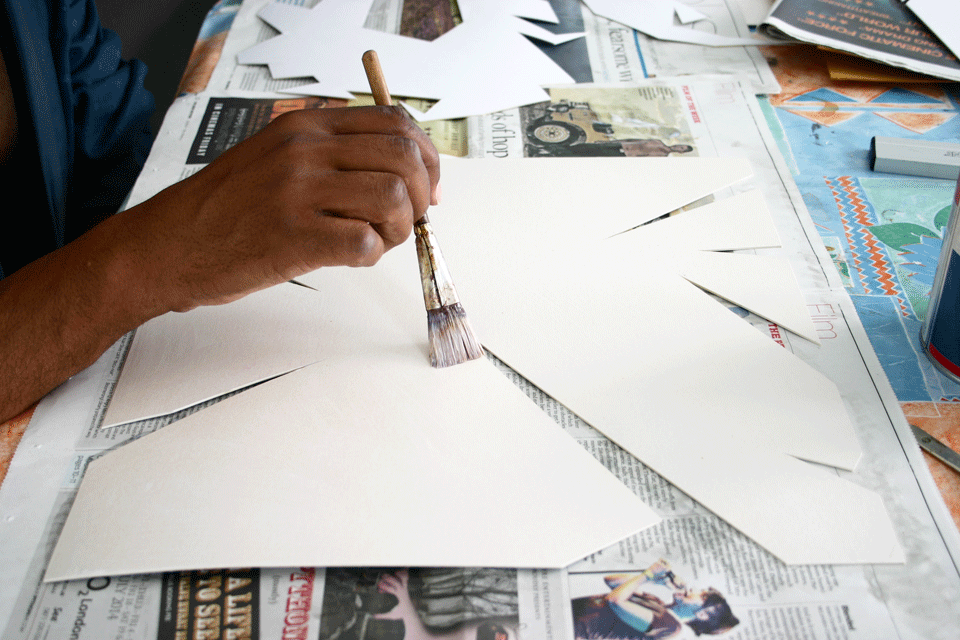
Interior quick drying varnish is applied to the surface. This seals the surface to ensure that ink and other liquids cannot penetrate the surface. Both sides and all edges are coated.
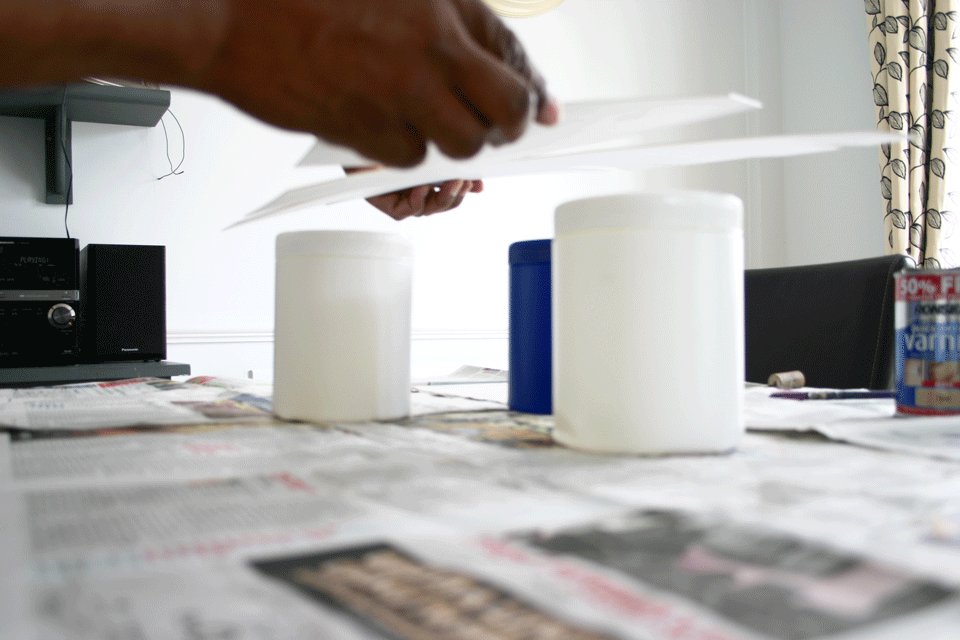
Next, I raise the plate above the work surface by placing it onto some equally-sized objects, to keep the plate level while I’m working on it. This is to make it easier to apply the carborundum to all edges of the plate in the next stage. Above, I’m using empty washing powder tubs, but any objects of equal height can be used.
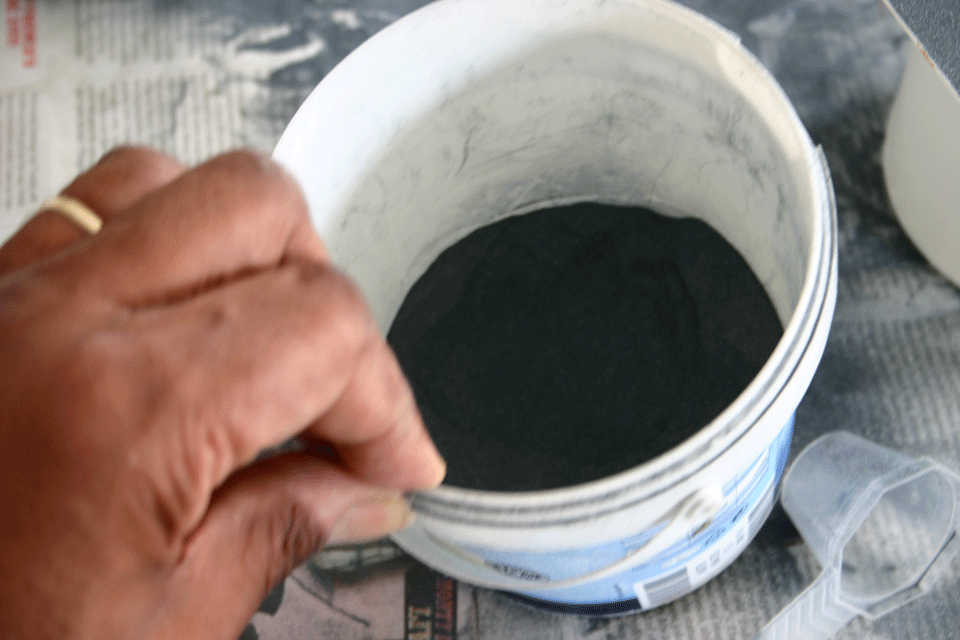
Above, you can see a tub containing carborundum powder, together. I scoop some into a gathered ‘bag’ made from a muslin-like material. It’s not a specialist item – mine has been cut from a zipped wash bag. I placed one layer inside another, to allow me to control the amount of powder that is allowed through the small holes on the fabric.
Before applying the carborundum, the plate surface is coated in glue. I often paint on PVA glue for this. I’m now ready to apply the powder.

The powder is dusted over the surface. By propping the plate up on the plastic tubs, I can easily apply the carborundum to the whole area.


After the plate has dried, I applied another coat of varnish. Whilst it was still wet, I cut pieces of cotton dropping them onto the surface. On the eventual print, these should print a little lighter than the background, is it will create a smoother surface.

I then sprinkle talcum or baby powder. This will dry back into the surface – again a little smoother than the carborundum background.

Finally, using a brush loaded with PVA, I dripped lines across the plates. Once dry, these will be the smoothest details on the plate, printing in the lightest tone.

I then used a hair dryer to dry the plate. This also helped to bond the cotton and talcum powder to the surface.

Finally, as it was a hot day, I placed the plates outside to finish drying and to harden in the sun.
Tomorrow, I’ll be printing the plates at The Ropewalk. I’ll show the results in part 2.
Find all my posts about Art Printworks stories on Twitter at: #artprintstories


